Essential Oil Recipes

DIY Anti-Stress Essential Oil Blends

Using essential oils in the home with a diffuser is a wonderful way to both scent the home naturally, but they also can help to change your mood!

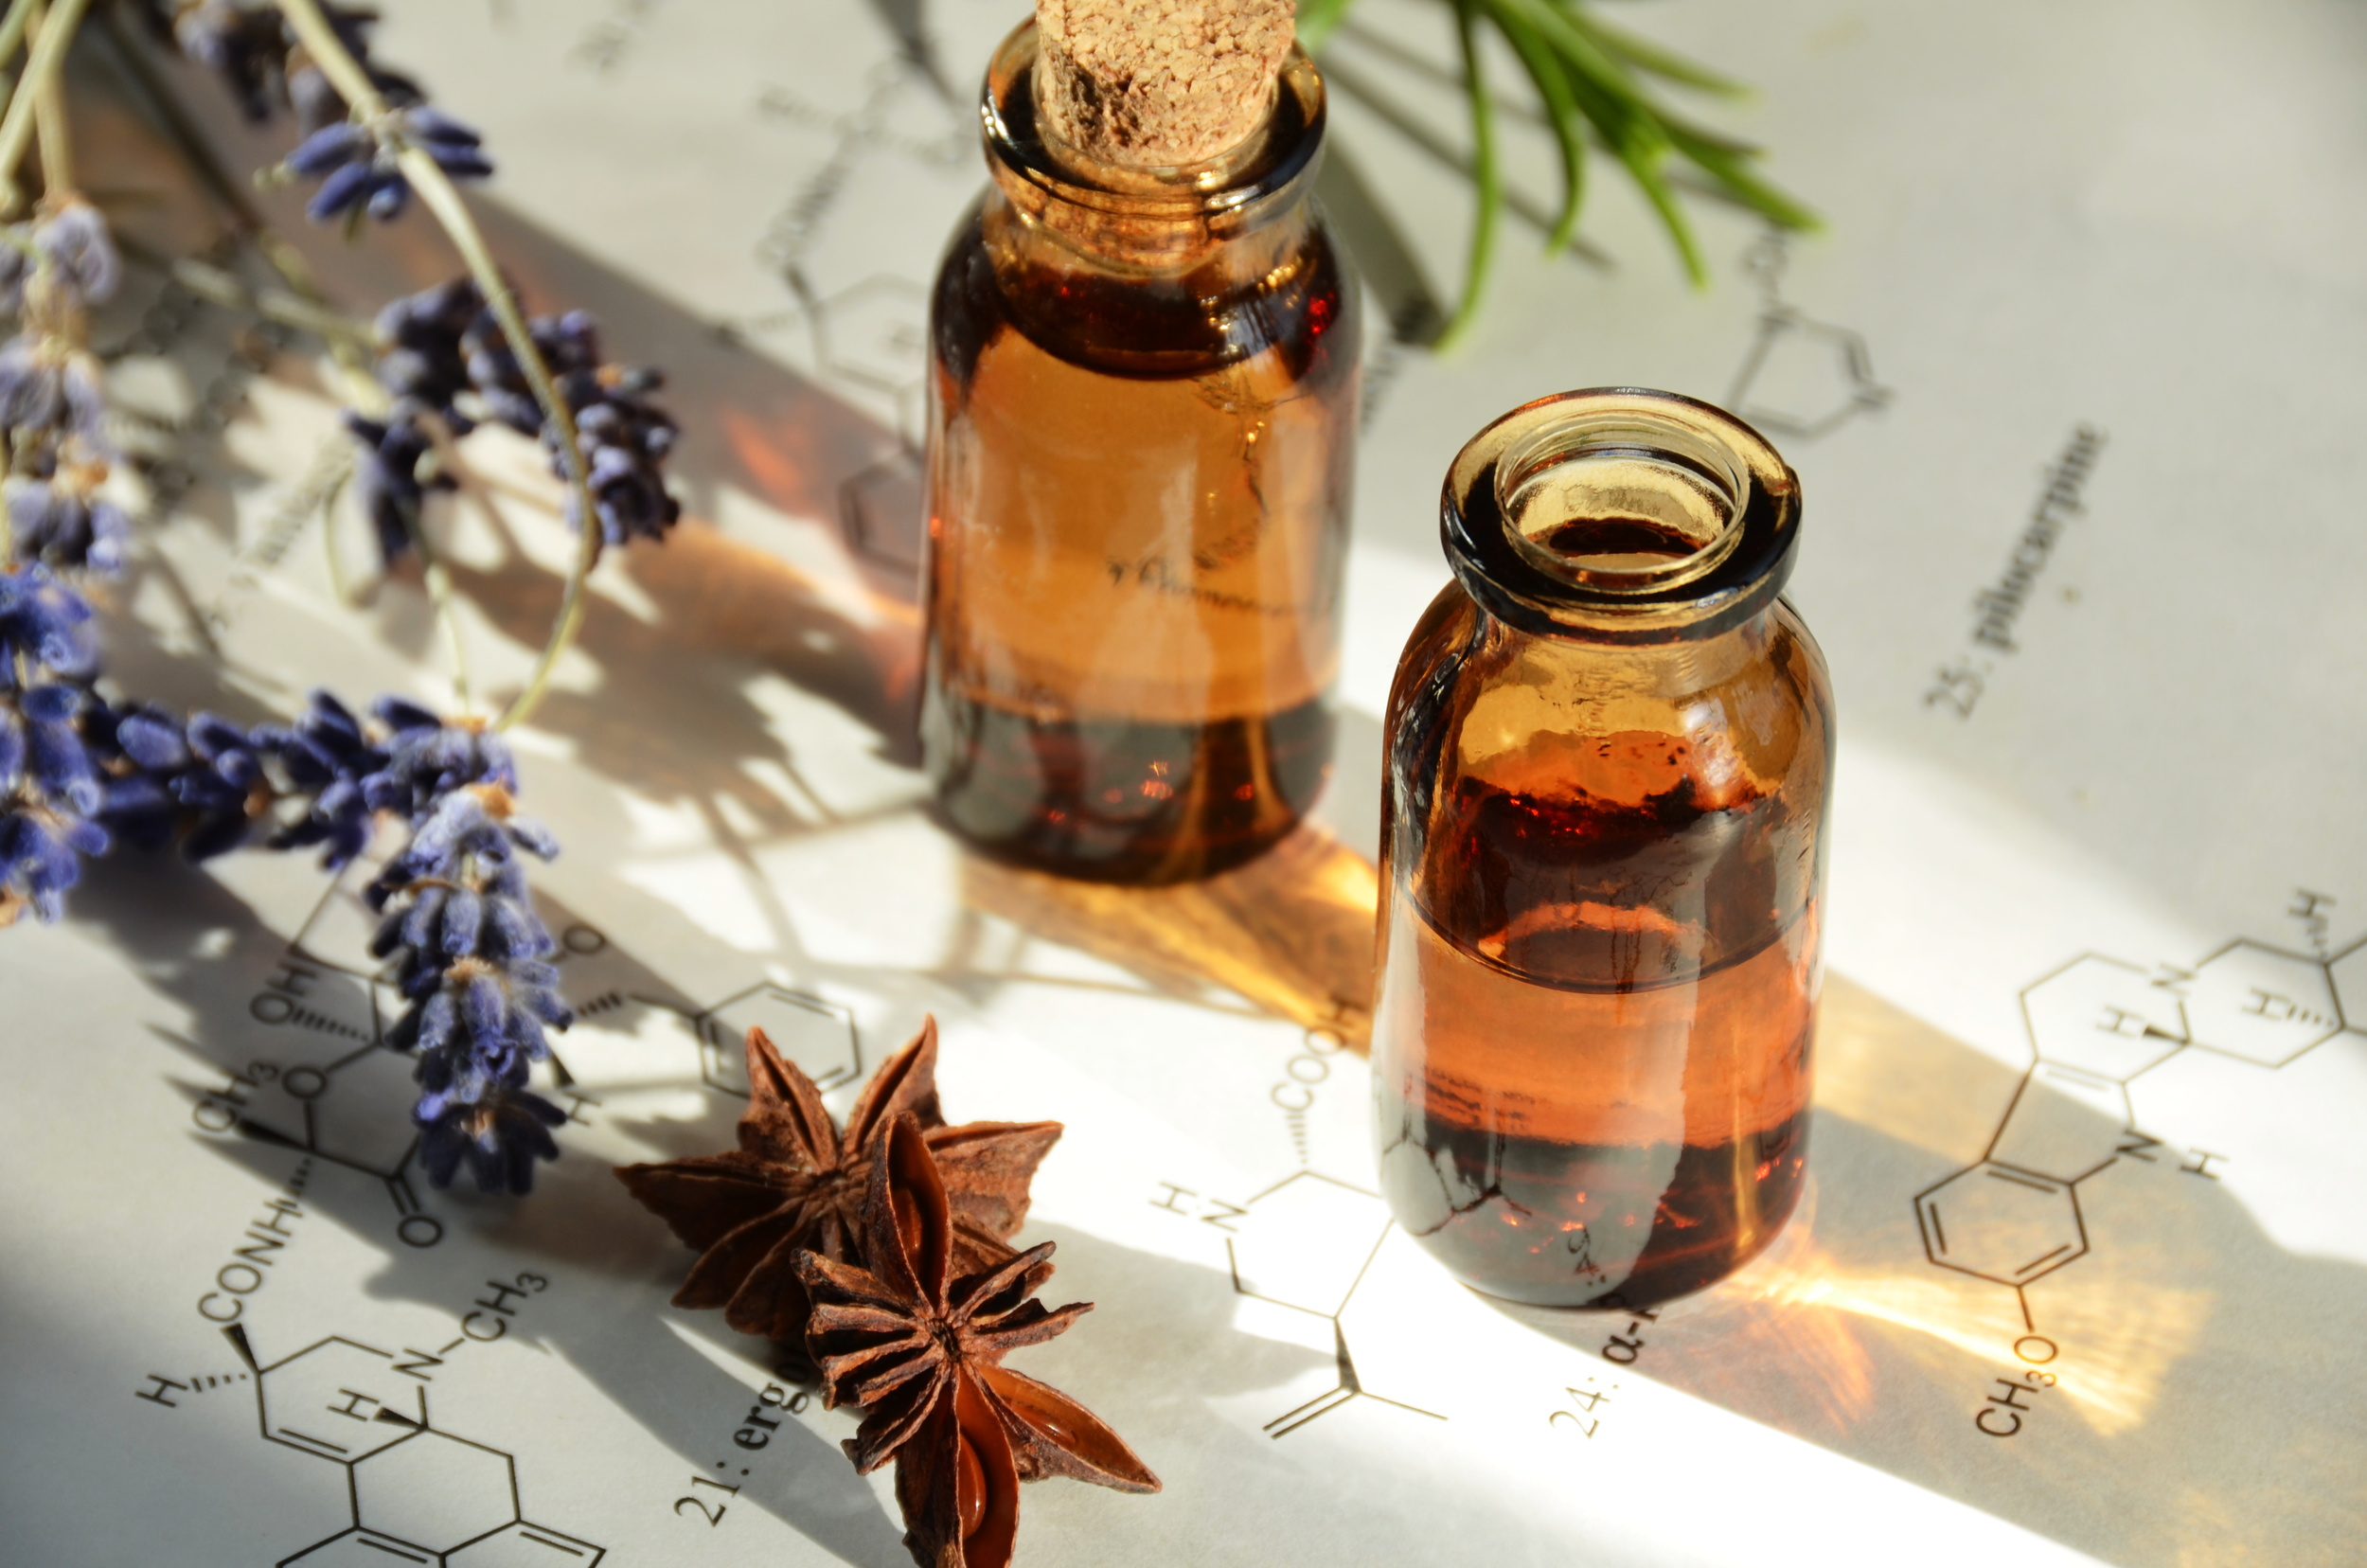
Lavender essential oil is traditionally used and approved by the European Medicines Agency (EMA) as an herbal medicine to relieve stress and anxiety.

There are a variety of clinical research studies on lavender oil which have been done with positive results for anxiety and depression. Smelling lavender oil appears to affect brain receptors that can help to reduce anxiety and depression, amazingly.

Another essential oil that has shown benefits for mood and stress relief is orange oil. It’s been studied for its benefit in reducing anxiety in both children and adults with positive results (here’s a link to a study on orange oil and children’s anxiety). Orange oil has also been the subject of animal studies finding benefit for anxiety and depression.

The third oil oil we recommend for stress is rose, which has been found in research to help with reducing stress and even lowering blood pressure!

Our Anti-Stress, Relaxing Essential Oil Blend

6 drops rose absolute essential oil

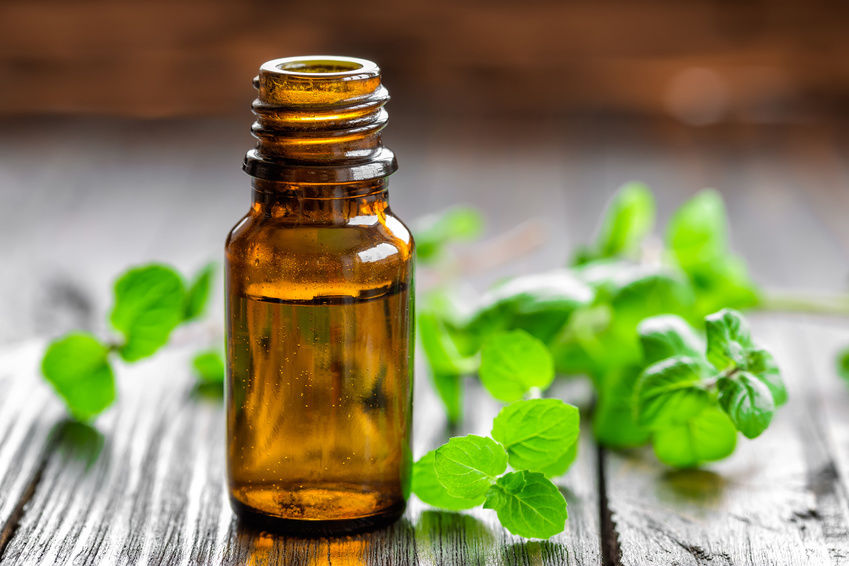
4 drops lavender essential oil

4 drops orange essential oil

Add oils to the water in a diffuser. If the scent is too strong for your home, reduce the quantities for your room size.

Note: Some people are sensitive to the smell of rose and really dislike the scent (I can’t understand how anyone can’t like the smell of roses, but to each their own). If that is the case with you, feel free to leave the rose oil out- the orange and lavender make a nice combination on their own.

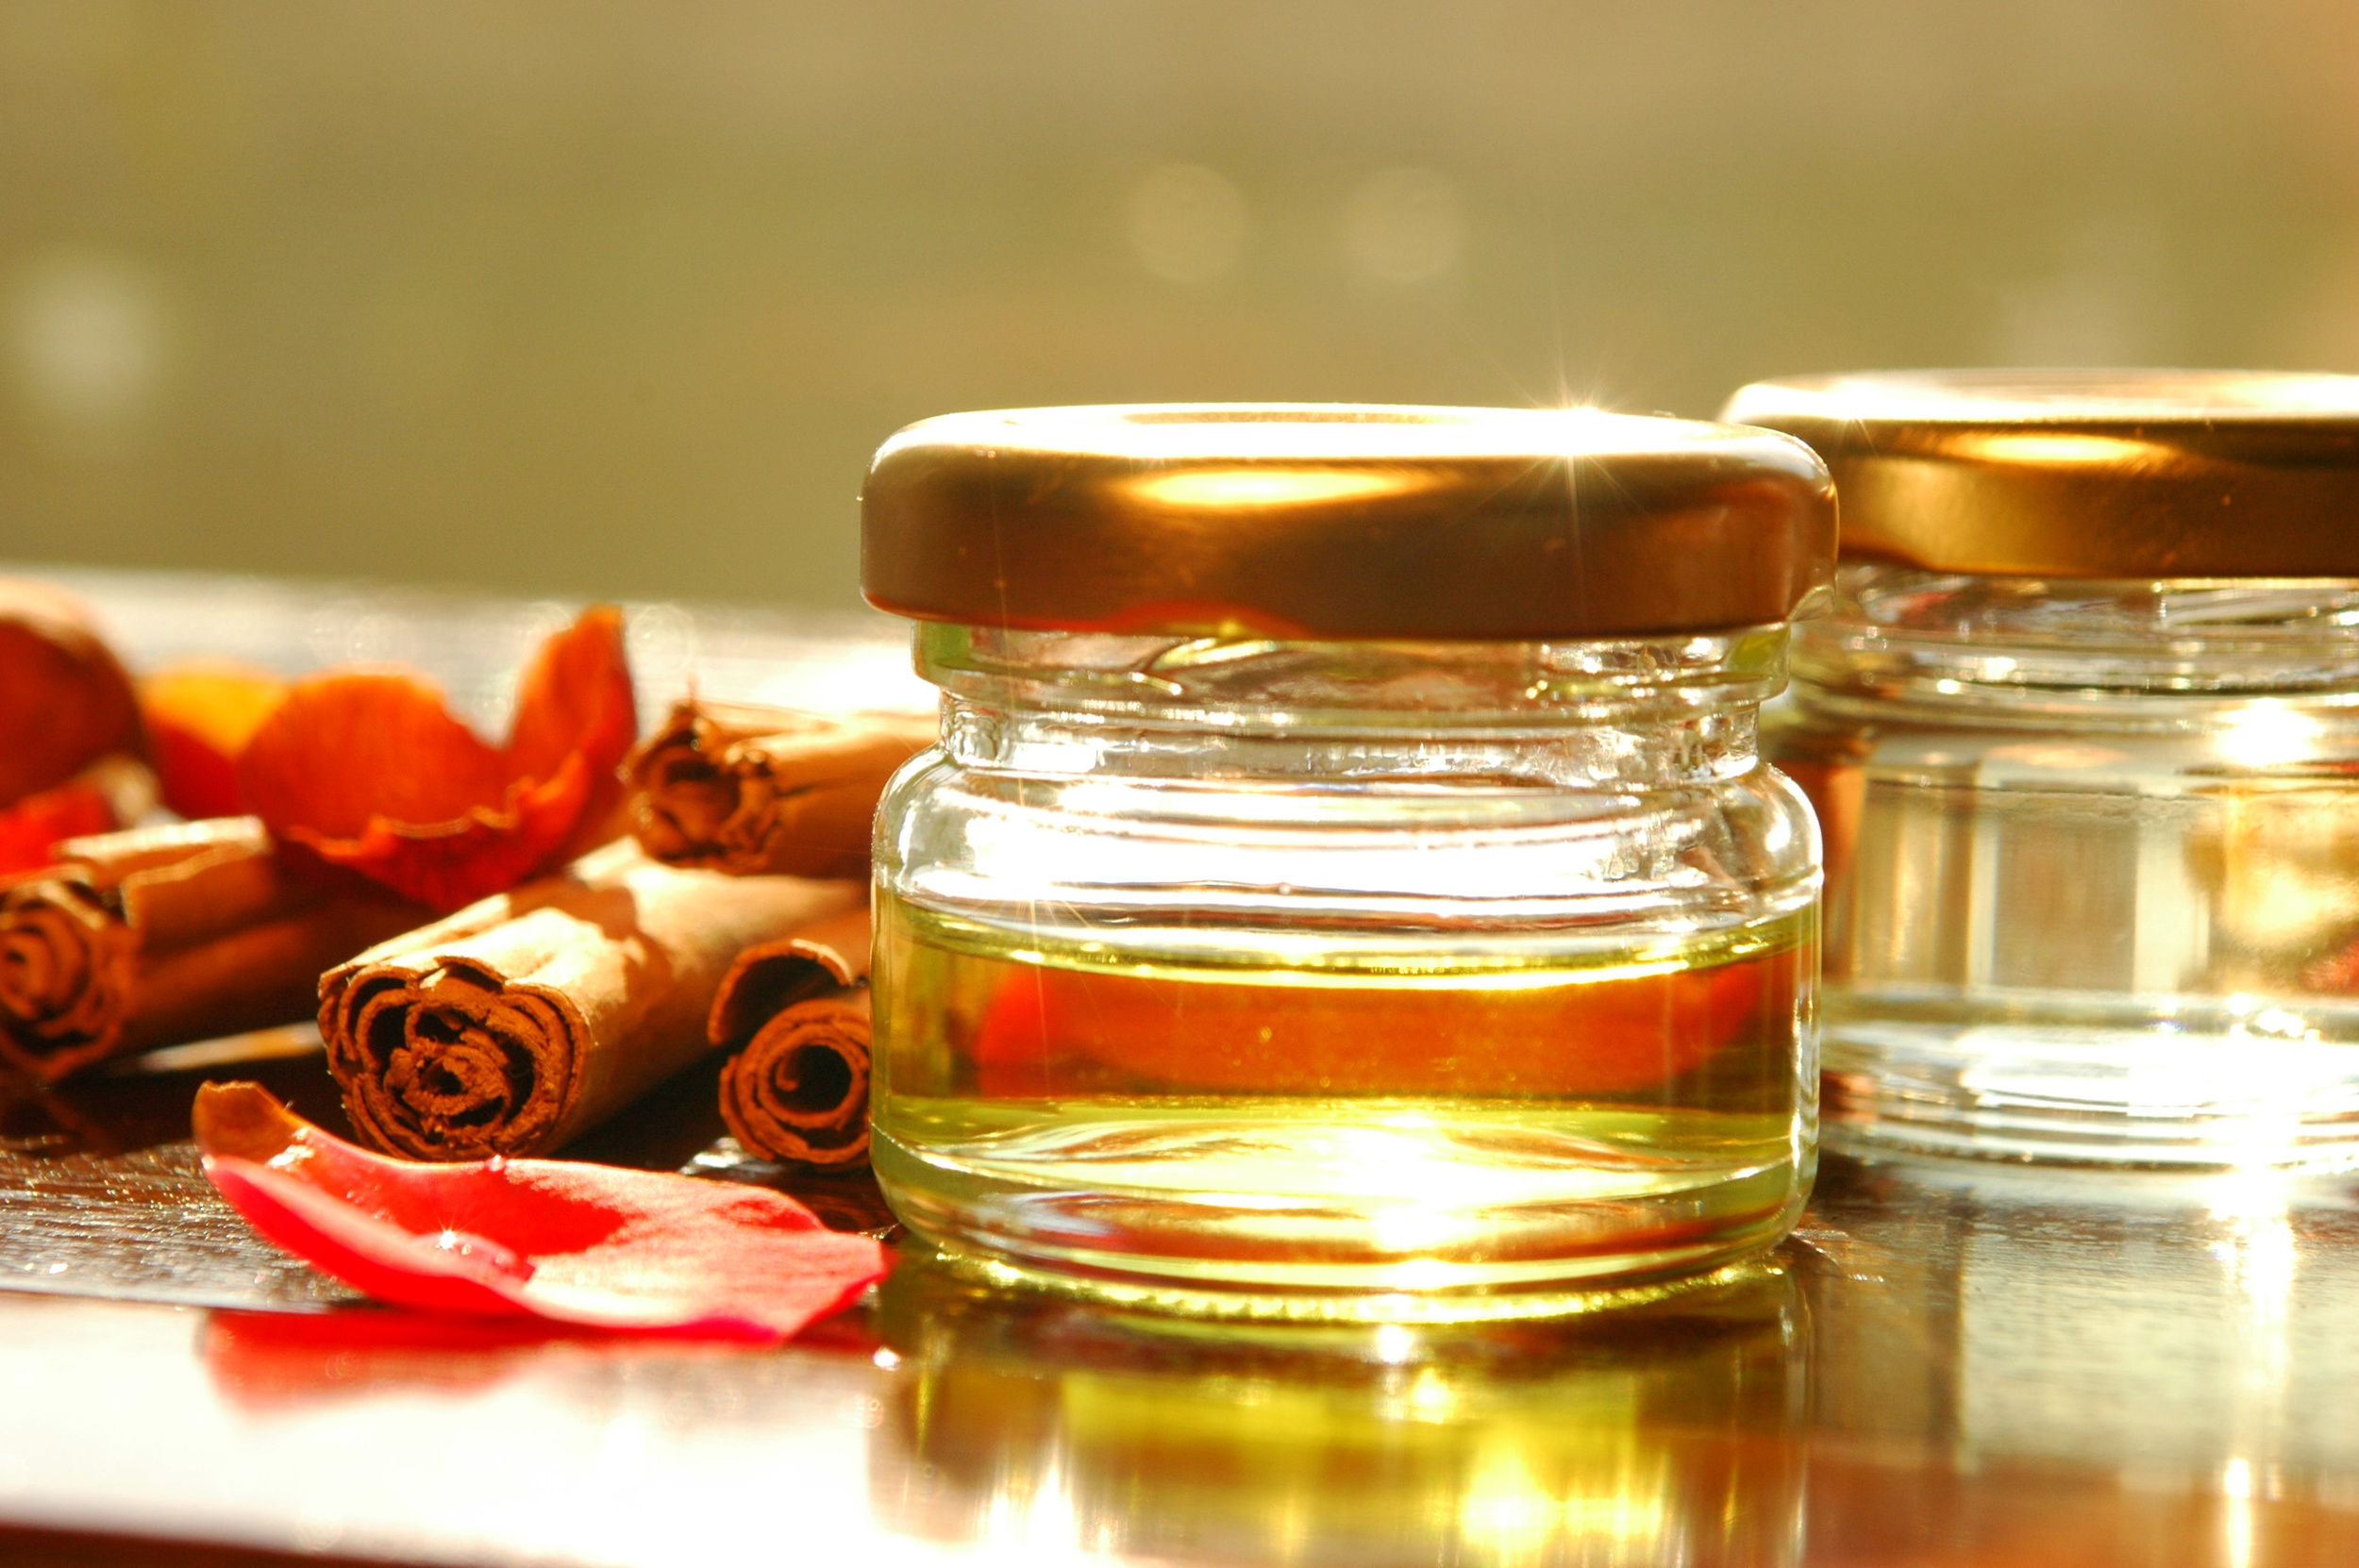
I also wanted to share another rose blend that I’m really loving during the cold, dreary days we’ve been having. It’s a warming, comforting blend that has a number of benefits. In addition to rose, which helps with stress, it’s combined with patchouli, which has been used for many years as a relaxing and mood boosting oil. The third ingredient is clove oil, which has antibacterial and antifungal properties and can even help with improving indoor air quality.

This blend really makes the home smell wonderful as well. I’ve been using it in the diffuser a lot at the store and always get lots of compliments.

Our Comforting, Stress Relieving Blend

4 drops clove essential oil

4 drops patchouli essential oil

6 drops rose absolute essential oil

Add oils to the water in a diffuser. If the scent is too strong for your home, reduce the quantities for your room size.

DIY After Sun Spray

This simple recipe is absolutely fantastic as an after sun spray and is also very soothing and healing for sunburn.

Both aloe and witch hazel are soothing to the skin, and can help with reducing pain, itching, and peeling if you do happen to get a sunburn. In addition to the aloe and witch hazel, this recipe also uses a bit of essential oils, which add additional healing properties. The peppermint oil in this spray gives a fantastic cooling sensation to the skin, and lavender oil is calming and healing to the skin.

This recipe makes a 2oz bottle, but can easily be doubled (or tripled!) for a larger spray bottle.

The witch hazel has preservative properties, so it can be stored at room temperature, but storing in the fridge can make this spray feel even better on hot, sun damaged skin.
Interestingly, my daughter also feels this spray helps with reducing the itching of bug bites, so that’s a nice additional use!

Ingredients:

2 tbs. witch hazel
2 tbs. aloe vera juice
6-12 drops lavender oil
6-12 drops peppermint oil

Add all ingredients to 2 oz. amber bottle (available at the store), taking care not to overfill. 

The different essential oil amounts are for two different dilutions. The smaller amount is for a 1% essential oil dilution, which is the amount recommended for children or those with sensitive skin, whereas the larger oil amount is a 2% dilution, which is the amount recommended for general adult use.

Apply as desired after sun exposure!

Essential Oils for Cellulite and Skin Tightening

We have had several people ask for cellulite oils at the store, so I thought we’d post an essential oil recipe for cellulite.

First, let me say that in general, having cellulite is genetic.  Cellulite is caused when fat deposits push through connective tissues near the skin.  Even people who are slender and fit have cellulite, in fact, 90% of women will experience cellulite in their lifetime.

I am skeptical of most cellulite creams on the market, especially those advertising “miracle results”.  Still, there are several essential oils that may help with tightening and detoxifying the skin to reduce the appearance of cellulite.

Grapefruit oil can help to remove toxins from the body. Juniper oil can help with reducing water retention. Cypress oil can help to improve circulation, as well as reducing water retention. Rosemary and cinnamon oils can also help to improve the circulation of blood in the body. Orange oil also helps with circulation, and can work to tighten the skin.

  • 1 oz. amber glass dropper bottle
  • 3 drops of grapefruit oil
  • 3 drops of juniper oil
  • 3 drops of cypress oil
  • 3 drops of rosemary oil
  • 3 drops of orange oil
  • Carrier oil of your choice- coconut and avocado oil are nice and moisturizing

Put the essential oils in the bottom of the dropper bottle and fill the rest of the way with a carrier oil. Be sure not to overfill the bottle so you’re able to put the dropper back in without overflowing.

Rub the oil mixture on problem areas before bed or as desired.

Natural Odor Eliminator with Essential Oils

This is a great essential oil recipe for helping to neutralize odors. It works extremely when sprayed on clothing and fabrics to remove unpleasant odors, as well as an overall room freshener (one of our employees keeps a spray bottle of this in the bathroom, and her family loves it!). The witch hazel helps to keep the oil and water mixed, and also works as a natural preservative. Chemical-laden air fresheners are terrible for our lungs and add to the overall toxic load in our homes, so this is a wonderful, natural alternative!

Ingredients:

2 oz. amber glass spray bottle
1 oz. witch hazel
1 oz. water

8 drops of lime essential oil
5 drops of bergamot essential oil
5 drops of lavender essential oil
5 drops of spearmint essential oil
3 drops of tea tree essential oil

Directions:

Fill a 2 oz. amber spray bottle a little less than halfway with witch hazel. 
Next, add the essential oils.
Finally, fill the bottle the rest of the way with water (do not fill the bottle up to the neck so the atomizer top can still be put on.

This recipe can also be multiplied if using a larger spray bottle.

When using on clothing, I recommend spraying it on the inside of the garment. It works best on heavier materials like sweaters. I would not recommend using it on delicate fabrics, just to be on the safe side.

Dog and Cat Foot Pad Protectant Salve for Winter

This recipe is fantastic for winter! It helps to protect animal's paws against the harsh winter weather!

puppy-487960_1920.jpg

Ingredients:

•    4 tablespoons coconut oil
•    4 tablespoons shea butter
•    1 (2 oz.) bar of beeswax
•    3 tablespoons olive oil
•    40 drops lavender essential oil
•    Wide mouth containers and lids

Melt beeswax in a double boiler or bowl inside a pot of boiling water.
Once the beeswax has melted, add the other oils, followed by the lavender oil.
Pour into containers (if using plastic containers, let mixture cool slightly before pouring.


Apply to dogs or cat’s feet before letting them outside in the cold as a barrier against the elements, This balm helps to prevent cracking and excessive drying of the paws.
 

Basic Essential Oil Room Spray Recipe

This basic recipe also works great as a linen spray for freshening sheets and even as a natural Febreeze (though I would avoid using it on fine fabrics since the tiny oil droplets may stain- it works great sprayed on the insides of sweaters or coats, however).


INGREDIENTS:

2 OZ AMBER SPRAY BOTTLE
2 TBS. WITCH HAZEL
20 TO 30 DROPS TOTAL OF ANY COMBINATION OF ESSENTIAL OILS
WATER

NOTES:

This recipe can also be easily multiplied to use in a larger spray bottle

Additionally- this recipe can also be used as an essential oil perfumed body spray. If doing so, however, you may wish to reduce the amount of essential oils used by half.
 

Directions:

Add 2 tbs. witch hazel to an amber spray bottle followed by the essential oils. Fill the rest of the bottle with water- don’t fill the bottle all the way to the top so there’s enough room to put the atomizer top back on. Shake well.

A simpler way to do this without using measuring spoons is to fill a 2 oz. bottle a little less than half of the way with witch hazel, then fill to roughly 80% with water before adding your essential oils. Top off with a bit of water to fill if desired, though take care to make sure that the top of the liquid mixture is slightly lower than the neck so it doesn’t overflow when the top is put on. 
 

How to Make Essential Oil Rollerbottles (with proper dilution ratios)

Essential oil roller bottles are simple to make, and are handy to use on the go since they’re inexpensive to make and are quick to apply- they’re a much better choice than carrying around an entire bottle of essential oil in your bag or pocket.

The following dilutions are for a 10ml roller bottle. Fill your roller bottle 80-90% full with a carrier oil before adding your essential oils. A carrier oil is an unscented oil that is used to dilute essential oils so they can be used on the skin (undiluted oils can irritate the skin). Jojoba or grapeseed oil are our favorite oils to use in a roller bottle.

It’s best to err on the side of slightly less since you don’t want it to overflow when you put the roller top back on. Once filled with essential oils, the liquid in the bottle needs to stay slightly below the neck before replacing the top.

10ml Roller bottle Dilution Chart:

.5% Dilution: 1 drops of essential oils per roller bottle
1% Dilution: 2 drops of essential oils per roller bottle
2% Dilution: 4 drops of essential oils per roller bottle
3% Dilution: 6 drops of essential oils per roller bottle
5% Dilution: 10 drops of essential oils per roller bottle
10% Dilution: 20 drops of essential oils per roller bottle


The Natural Institute for Holistic Aromatherapy recommends using the following dilution ratios:

A .5-1% dilution for topical use on young children or for sensitive adults

For adult use, a 2-10% dilution ratio is the general recommendation for topical use. 


The following oils may cause skin irritation when applied to skin, so it is especially important to use them with proper dilutions: cassia, cinnamon, clove, balsam fir, sage, and thyme. Also, citrus oils can cause the skin to be more sensitive to light (not usually something to be worried about with a proper dilution, just something to be aware of).

Roller bottles are fun to make and are handy for lots of applications!
 

Our Favorite Fall Essential Oil Blend Recipe

This month I wanted to share our favorite fall essentials blend. We use it in our diffuser all the time at work and always get compliments!  This combination of oils smells extremely comforting and is perfect for the chilly, dreary days of fall.

fall oils.jpg

How many drops you use in your diffuser is entirely up to you, and can be increased or decreased depending on how strong of a scent you prefer.

Generally, in a diffuser at home, I use 8-10 drops, though at the store we’ll often use 13-15 drops at once since it’s a large, open room.

In your diffuser, drop in equal amounts of:

Orange Essential Oil

Patchouli Essential Oil

Clove Essential Oil

Cinnamon Bark Essential Oil

Patchouli sometimes has a bad stereotype associated with it, but it adds creaminess and depth to other essential oils. The scent of patchouli is also relaxing as well as mood-boosting. 

Orange oil is also a nice mood-boosting essential oil. Increase the amount of orange in this recipe for a brighter, cheerier blend.

Clove and cinnamon bark essential oils are fantastic spice oils that have a warming effect on the body. Both of these spice oils also have antibacterial properties and are effective against airborne bacteria when diffused into the air.


Other ideas are to trade lemon oil for the orange oil in this recipe, or to add a drop of anise or nutmeg oil for a slightly different blend. The possibilities are endless.


Essential Oil Pain Relief Recipe

This is a very effective recipe for pain that smells really nice!  It’s not at all medicinal or strong smelling, and it works very well for pain and sore muscles or cramping (including menstrual cramps).
 
The recipe below is a 10% essential oil dilution, which is meant for acute pain and injuries.  It is the most effective dilution for topical issues, but it is not meant to be used every day on an ongoing basis. If daily is desired, it is best to dilute the essential oils in the recipe below by half or more.

Items Needed:

1 oz dropper bottle
10 drops cinnamon bark essential oil*
10 drops camphor essential oil
10 drops eucalyptus essential oil
10 drops peppermint essential oil
5 drops clove essential oil
5 drops rosemary essential oil
Carrier oil (I used fractionated coconut oil, but any carrier oil can be substituted)
 
*Note: Cinnamon bark is one of the more expensive oils in this blend, so if desired, you can substitute cinnamon cassia, which has similar benefits.  The difference between the two is that cinnamon bark uses only the bark of the cinnamon tree, so it has the cleanest scent; cinnamon cassia is made from the bark, twigs, and leaves.  Cinnamon cassia has similar benefits to cinnamon bark, but does not have the pure, clean, cinnamon scent that cinnamon bark has.
 
Note 2: The recipe above is the most effective, but if you do not already own any of the above oils, I’m not suggesting you need to run out and buy six different bottles of essential oils to make a pain blend.  The most important oils in the above blend are cinnamon, camphor, and peppermint.  You can substitute oils for the others or use them in slightly different ratios if needed.  A 10% dilution uses 60 drops of essential oils for 25ml of carrier oil (which is 5/6 of an ounce or 5 teaspoons).  To make a less concentrated version to use on a regular basis, you can reduce the amounts of essential oils listed above by half or more.
 
Directions:

Combine essential oils in a 1 oz amber dropper bottle (available at the store).  Fill the remaining space in the bottle with your preferred carrier oil to the base of the neck (so it doesn’t overflow when you put the dropper in).

Shake the bottle gently to disperse the essential oil in the carrier oil and rub a small amount (1/2-1 dropperful) on the affected areas. To apply, drop the oil onto your palm and rub hands together to warm the oils before applying for maximum benefit.

The above recipe can also be used in a 2 oz spray bottle with magnesium oil (which will even further boost its pain relieving powers).  For a 2 oz bottle, double the amount of essential oils used and substitute magnesium oil for the carrier oil in the recipe above.


DIY "Poo-Pourri" with Essential Oils

Have you seen the commercials for Poo-Pourri?  Here’s a video if you’ve missed out. The idea is that you spray the water in the toilet with the mixture and it helps to minimize the possible smell of a bowel movement (I apologize if this post seems a little gross).

A few of us were chatting at the store and we thought we could put together our own recipe with essential oils. After a few trial runs and tweaks to the recipe, I think we have a very effective “DIY Poo-Pourri” recipe.

My daughter for whatever reason has not great smelling bowel movements (again, sorry if this is TMI). We share a bathroom and it seems she always has to “go to the potty” right before I need to take a shower or what have you. Lucky me. Well, she has been using the spray in the toilet before she uses the bathroom, and I can honestly say it has made a huge difference. The mixture is also great smelling, so it makes a great overall air freshener as well.

Ingredients:

2 oz amber spray bottle (we have them at the store)*

2 tbs. witch hazel

5 drops each of tea tree, lemongrass, bergamot, and lavender essential oil

Water

*This recipe can also be easily multiplied to use in a larger spray bottle


Directions:

Add 2 tbs. witch hazel to an amber spray bottle followed by the essential oils. Fill the rest of the bottle with water- don’t fill the bottle all the way to the top so there’s enough room to put the atomizer top back on. Shake well.

To use: Spray five sprays of the mixture in the toilet bowl before using the toilet. The witch hazel helps the essential oils to mix better with the water, though it’s still a good idea to shake the bottle before spraying.


I think you’ll be pleasantly surprised by the results. The oils in this blend and bright and fresh smelling, but also have potent antibacterial properties, which is always a good thing.
 

7169352102_db8f138b1a_z.jpg

Easy DIY Liquid Hand Soap Recipe with Essential Oils

Liquid hand soap is expensive, and with the amount that we wash our hands in our family, we go through it quickly.  This recipe makes a nice large amount, enough to fill all the soap dispensers in your home with plenty to spare, and it’s extremely inexpensive to do.  It can also be customized with your favorite essential oils!

Supplies Needed

1 bar of natural soap (I recommend Dr. Bronner’s unscented castile soap)
4 cups of water
Essential oils
Optional: moisturizing oils like jojoba or avocado oil

Instructions

Grate the entire bar of soap with a cheese grater or in a food processor (by far, the easiest way).

Boil four cups of waer on the stove.  When the water has reached a rolling boil, remove from heat and add the grated soap flakes, stirring until combined.

Allow the soap mixture to cool for 15 minutes, and then stir again.

Let the mixture cool overnight.  As it sits it will thicken further.  The next day add your essential oils and use and store the extra soap as needed.  For an extra moisturizing soap, add 4 tbs. jojoba or avocado oil after the recipe has cooled.


How much essential oil to use


If the soap will be used by children it is best to err on the side of less essential oils.  A 1% dilution, which is a safe recommended amount for children, would be 160 drops per 32 oz of soap, or about 1 ½ teaspoons of essential oils.  If you would like to do a variety of different fragrances, you can add 40 drops of oil to 1 cup of liquid soap.  For adult use you can use more oils if preferred, but a 1% dilution is safe for the whole family.


Essential oil blends are wonderful for use in this recipe (I really like NOW Solution’s Smiles for Miles or Cheer Up Buttercup). Other oils that are nice in soap are combinations of grapefruit and lime, bergamot and lemon, orange and clove, or lavender and spearmint.


Easy DIY Coconut Oil Deodorant with Essential Oils

This recipe makes an easy to apply paste, and it’s great because it’s made with ingredients you likely have in your kitchen. Most things I read about homemade deodorants say that arrowroot is preferable, but I used cornstarch when I made it since that’s what I had on hand. This is a small recipe, since I wanted to make a couple different ones with essential oil blends, though it is easily doubled.

This recipe is perfect for the cooler weather we’re having. In the summer it will likely be necessary to add a couple melted tablespoons to the coconut oil before mixing to make it firmer since coconut turns into a liquid at 76 degrees.

Ingredients:

•    3 tbs. coconut oil
•    2 tbs. baking soda
•    2 tbs. arrowroot powder or organic (non-GMO) cornstarch
•    10 drops of essential oils (you can adjust the amount more or less depending on how strong of a scent you prefer)  

My favorite oils to use in this are a mixture of patchouli and cedarwood since I love their scent, but you can use whichever oils you prefer. If you have issues with body odor, adding a few drops of tea tree oil to the mixture can be beneficial. I would avoid cinnamon and citrus oils however, since they may be irritating.

Also, some people find that baking soda bothers their skin. If you find that to be the case, reduce the amount of baking soda in the recipe to see if that takes care of the issue. Additionally, if you apply this deodorant right after shaving under your arms, it may sting. It’s best to wait 30 minutes after shaving under arms before applying if you have sensitive skin.

Directions:

  1. Combine baking soda and arrowroot/cornstarch in a medium bowl and mix thoroughly.

  2. Add in coconut oil and mix with a fork until well mixed, breaking up any lumps in the coconut oil.

  3. Mix in essential oils

  4. Store in small jar or container with a lid and apply as needed!

DIY Exfoliating Lip Treatment for Dry Chapped Lips (It’s Great for Hands Too!)

Cold winter weather and chapped lips seem to go hand in hand, so this simple recipe is a great one to have in the house (plus it’s made with ingredients that are probably in your cabinet). It’s perfect for lips, but it also is nice for dry flaky hands.

1 tbs. coconut oil*
1 tbs. raw honey
1 tbs. sugar
3 drops lavender oil

*I prefer using fractionated “always liquid” coconut oil for this recipe, but you can use regular coconut oil, or even avocado or olive oil if it’s what you have handy.

This recipe can easily be scaled to make a larger quantity.

1.    Melt coconut oil in the microwave if needed to bring it to a liquid state.
2.    Combine coconut oil, raw honey, sugar, and lavender. The coconut oil will not mix in with the honey and sugar all the way, but that’s not an issue.
3.    Scoop out a small amount, roughly a teaspoon, and apply to lips.  Scrub the lips gently with the mixture and then let sit on lips for a few minutes before rinsing off.
4.    After rinsing apply a thin layer of coconut oil on lips before sealing with a good lip balm.
5.    Enjoy your soft and moisturized lips!

This recipe is wonderfully moisturizing and healing, since honey is a natural humectant, which means it draws moisture to the skin.  Coconut oil is also extremely moisturizing, and lavender oil is soothing, healing, and has antibacterial properties.  All of the ingredients are safe for ingestion as well, in case you get a bit in your mouth.

If using on hands, scoop a couple tablespoons on to freshly washed hands and scrub hands, then let sit for a minute before rinsing off.  After drying hands, put on a nice thick hand lotion (I’m partial to Kiss My Face’s olive and aloe moisturizer).  Also, be sure to always wear gloves outside- this cold weather just sucks the moisture out of skin!

DIY Essential Oil Nail Recipes for Strengthening and Nail Fungus

We have new empty nail brush containers available at the store which are perfect for making your own essential oil blends for healthy nails. Essential Oils can be very helpful for the nails and are a wonderful, natural way to improve nail health. We have two simple essential oil nail recipes below: one for strengthening and another for helping to get rid of nail fungus.

Nail Strengthening Blend

This oil is helpful for weak, brittle nails, and also helps whiten nails.

20 drops lavender oil
10 drops lemon oil
Jojoba oil
Add the essential oils to an empty 1oz. nail brush container and then fill the rest of the way with jojoba oil (a pipette is helpful for this, also available at the store). Brush this oil liberally on bare nails once or twice a day (it smells great, so it’s a treat).

Nail Fungus Blend

This oil blend is absolutely wonderful for nail fungus on finger and toe nails.

30 drops tea tree oil
10 drops oregano oil
5 drops clove oil
5 drops orange oil
Jojoba oil
Add the essential oils to an empty 1oz. nail brush container and then fill the rest of the way with jojoba oil (a pipette is helpful for this). Brush the oil liberally on bare nails before bedtime. With consistent use, this oil will help fungus infected nails to begin to grow in healthy. This blend can also be used twice a day for increased effectiveness.

DIY Insect Repellents with Essential Oils

June is here, and so are the bugs! While conventional, DEET based insect repellents are very effective, I don’t love the idea of spraying chemicals all over myself, and I definitely don’t want them on my daughter. Luckily, there are natural alternatives.

A number of essential oils are very effective against mosquitoes and ticks. Both mosquitoes and ticks search out humans by smell, so essential oils work in two ways to keep away bugs: first, it masks our natural human odors, and second, certain oils actually repel biting insects.

We’ve been working on it, and have developed an essential oil blend that works very well against mosquitoes. The mosquito blend is also effective against ticks, though we’ve made a “tick blend” that is specific to repelling ticks, so that’s the one I’d use if you’re in the forest or other areas where ticks can be a problem.

These blends are measured for use in our 10ml essential oil rollerbottles. We sell empty rollerbottles and also rollerbottles filled with grapeseed oil (a carrier oil). Essential oils should be diluted with a carrier oil before being applied to skin. Grapeseed is a wonderful carrier oil to use with bug repelling essential oils since it doesn’t have a scent of its own.

These recipes use lemon eucalyptus oil which has been proven to be effective against mosquitoes. NOW Foods also has a lemon eucalyptus blend, which I like (it’s a mix of lemon, eucalyptus, and lemongrass), but it is not the same as true lemon eucalyptus (eucalyptus citriodora).


Mosquito Repellent Essential Oil Blend (to be mixed with a carrier oil in a 10ml rollerbottle)

10 drops lemon eucalyptus oil
10 drops citronella oil
5 drops lemongrass oil
5 drops lavender oil
5 drops geranium oil


Tick Repellent Essential Oil Blend (to be mixed with a carrier oil in a 10ml rollerbottle)

8 drops lemon eucalyptus oil
8 drops geranium oil
8 drops lemongrass oil
4 drops lavender oil
4 drops juniper oil
4 drops peppermint oil


While the above blends are those we think are most effective, while still being great smelling (over the years I’ve used some different natural bug sprays that I thought smelled awful), using just a combination of lemon eucalyptus, citronella, and/or lemongrass will still help to keep bugs from biting.

The thing I like about using rollerbottles for insect repellents are that they’re small- they’re easy to carry in a purse or pocket, and they’re also easy to apply. Another great thing using an insect repellent in this way is that children can apply it themselves. My daughter loves rolling on her “bug stuff” when she goes outside. I love it because I think it fosters independence, so if she decides to go out in the backyard, she will put on her own bug blend so she doesn’t get bitten by mosquitoes.

If you find a spray more convenient, you can multiply the above recipe by four and combine it with 8 ounces of witch hazel in a spray bottle (you could also use distilled water, though I found that witch hazel made a better bug repellent).  Shake the bottle before spraying.

River putting on her "bug roll on"

River putting on her "bug roll on"

Another advantage of making your own essential oil blends in small rollerbottles is that they’re small and convenient to have in a number of places- I keep one outside on the deck, one by the backdoor, and another in my purse. Essential oil bug blends should be reapplied every 1-2 hours for maximum effectiveness.


Finally, when it comes to getting mosquito bites (since there will come a time when you forget to put on your bug blend and get a bite), lavender oil works amazingly for taking out the itch.

Lavender oil is one of the only oils that can be put on the skin directly without irritation, and a drop or two on an itchy mosquito bite really helps. I keep a bottle of lavender oil on my bedside table since for some reason it seems like the only time mosquito bites bother me is when I’m trying to sleep. Incidentally, lavender oil is very relaxing and has been shown in research to be wonderful as a sleep aid. 


DIY Essential Oil Home Cleansing Recipe Roundup

Natural cleaners are very easy to make using essential oils.  Ideally, they should be stored in an amber glass bottle, however, to keep the essential oils from degrading.  We sell empty 8oz and 16oz amber spray bottles at the store, and for the month of April we will be having them for 50%!

Aura Cacia, one of the fantastic essential oil brands we carry at the store, has a fantastic index of DIY cleansing recipes using essential oils on their website.  They’re simple to make and use readily available natural ingredients.
 

Also, a see a few of our other favorites from around the internets are below.


This is a great All Purpose Cleaner from Mommypotamus:

•    1 cup water
•    2 teaspoons castile soap (like Dr. Bronners)
•    20 drops essential oil  


Homemade All Purpose Cleaner from Detoxinista:

1/2 cup white vinegar
3 cups water
1/4 teaspoon tea tree oil (about 10 drops)


Another similar recipe is this DIY Lavender Tea Tree Surface Cleaner by Free People:

1 Cup Water
¼ Cup Distilled White Vinegar
10 Drops Tea Tree Oil
10 Drops Lavender Oil


DIY Citrus Window Cleaner from The Hippy Homemaker:

3 cups water
1/4 cup + 2 Tbsp. rubbing alcohol
1/4 cup + 2 Tbsp. distilled white vinegar
1/2 tsp. orange oil


Homemade Glass Cleaner that Smells Awesome from New Nostalgia:

1 cup distilled white vinegar
2 cups water
1/2 tsp dish soap
15 drops essential oils


Almost all of the above blends would benefit from the addition of tea tree oil, a potent antibacterial and antimicrobial oil.  Most essential oils do have antibacterial qualities however, so find an oil or blend of oils that you like the best and experiment making your own blends!  I like using a combination of bergamot and lemon, since it's so nice and springy smelling, while still being a great antibacterial cleaning blend.  


DIY Hand Sanitizer with Essential Oils

I use hand sanitizer frequently, but do not love the dry hands or synthetic fragrances they usually are accompanied by.  This is a simple DIY recipe for a moisturizing but very effective hand sanitizer recipe using essential oils.

•    1/4 c. aloe vera gel (I used Lily of the Valley)
•    3/4 c. ethyl alcohol, ethyl rubbing alcohol, or Everclear
•    2 tbs. vegetable glycerin
•    30 drops essential oils*

*Keep in mind that citrus oils like lemon or orange can make the sun more sensitive to the sun, and cinnamon oil can be irritating to the skin, so use them sparingly in this recipe if at all.  I made a few batches of this with different scents that turned out very nicely- any combination of oils will work, depending on your preferences.  My favorite was a spice blend using clove, patchouli, cinnamon and orange (10 drops clove, 10 drops patchouli, three drops cinnamon, and 7 drops orange).

Combine all ingredients in a blender and process until smooth.  Pour into a squeeze or pump bottle (a funnel is helpful for this).  This recipe is much more liquidy than the standard antibacterial “gel”, though I used it in an old hand sanitizer pump bottle and it worked fine, even with being so liquid.  I think it would also work well in a spray bottle, though I didn’t have one handy to try it.

Washing hands with soap and water is still the best method for getting ands clean, but this is a good substitute for times when hand washing is not convenient or possible, and your hands will be moisturized and wonderful smelling afterwards.


Holiday Lip Balm with Essential Oils

I am a lip balm fanatic, and love DIY recipes, so this is a great recipe for making a holiday themed lip balm! If you’ve never made lip balm, it’s very simple and economical too- one recipe makes a LOT of lip balm, so it’s perfect for gift giving. We sell all the necessary ingredients and lip balm tubes at the store. You can use your own combinations of essential oils, but one that I really like is with our Christmas Eve essential oil recipe blend.

This recipe made a little over 13 tubes of lip balm.

Ingredients:
1 1oz. bar of beeswax
3 tbs. coconut oil
3 tbs. cocoa butter (or shea butter) 

Essential oils:
25 drops spearmint essential oil
20 drops lavender essential oil
15 drops balsam fir needle essential oil
15 drops vanilla essential oil (optional)

Ingredient note: Previously I’ve used 4 tbs. each of coconut oil and cocoa butter, though I used 3 tbs. this time for a harder, waxier balm.  If you’d prefer a softer lip balm, increase the amounts of coconut and cocoa butter (you may want to add a few extra drops of essential oils as well if increasing the recipe)

Essential oil note: I don't like very strongly flavored/scented lip balms, so if you do you may want to increase the amount of essential oils by a few drops each. 


Directions:
For a complete instructional rundown with pictures, see our lavender vanilla lip balm recipe post.

Prepare your ingredients and open all lip balm containers so the liquid beeswax mixture can be quickly poured and easily filled before it starts to harden.

Melt beeswax in a double boiler.  If you don’t have a double boiler (like me!) you can use a small bowl in a pot of water.  Once the beeswax is melted, add the coconut oil and cocoa butter.

Pure cocoa butter is hard, so I found it easiest to scrape the cocoa butter with a spoon in its jar and then pouring the shavings it into my measuring spoon.

Stir ingredients with a metal spoon until melted.

Once all the ingredients are melted, let cool slightly before adding the essential oils.  If desired, you can separate the recipe into halves before adding the essential oils if you’d like to make more than one flavor.

Note: I would advise using a Pyrex or something with a spout to pout the melted mixture.  I tried using pipettes, but found that just pouring the beeswax mixture into the lip balm tubes was the easiest, since the mixture started solidifying in the pipette before I could fill all the containers.

Holiday Essential Oil Blend Recipes

The following blends are wonderful room scents to use during the holiday season.  The easiest way to use them is in a diffuser (we have four different essential oil diffusers available at the store) that uses ultrasonic vibrations to create a fine aromatherapy mist.  

These holiday blends can also be used as a room spray with water in an atomizer (we have empty glass spray bottles available at the store) or in lotions or any number of DIY beauty products.

The oil concentrations below are appropriate for a diffuser, though you can increase or decrease the amount of oil based on your preference and how strong you want it to smell.


Holiday Spice Blend

This blend is one of my favorites for the holidays.  We frequently have it in the diffuser at the store and I always get compliments on it.  Now only does it smell great, but cinnamon, clove, and lemongrass have strong antibacterial qualities and orange oil is fantastic for boosting mood and reducing anxiety.

4 drops cinnamon bark essential oil
3 drops clove essential oil
3 drops orange essential oil
1 drop lemongrass essential oil (optional)


Peace and Harmony Blend

Patchouli is my favorite smelling oil- it's rich and comforting.  It is also an oil that improves with age, so hiding an extra bottle in the back of a drawer is not a bad idea.  Patchouli is also a very calming and centering oil, that combines with the scent and benefits of orange oil wonderfully. 

4 drops patchouli essential oil
4 drops vanilla essential oil
3 drops orange essential oil


Pomander Blend

4 drops orange essential oil
4 drops clove essential oil
2 drops vanilla essential oil (optional)


Yuletide Blend

4 drops balsam fir needle essential oil
4 drops tangerine or orange essential oil
2 drops pine essential oil
1 drops anise essential oil


Christmas Eve Blend

3 drops lavender essential oil
3 drops vanilla essential oil
3 drops balsam fir essential oil
1 drop spearmint essential oil


Royal Peace Blend

Myrrh and frankincense were the gifts brought to the baby Jesus by the wise men.  Myrrh helps to reduce stress and frankincense is purifying and is frequently used in meditation blends, so the combination is perfect for the season as well as anytime you need some extra peace and tranquility.  

4 drops myrrh essential oil
4 drops frankincense essential oil


Enchanted Forest Blend

This combination of oils is very evocative of a winter forest, and is a fantastic Christmas Tree scent.  

5 drops balsam fir needle essential oil
3 drops atlas cedar essential oil
2 drops cedarwood essential oil
2 drops pine needle essential oil


Sweet Relaxation Blend

5 drops lemon essential oil
2 drops patchouli essential oil
1 drop clove essential oil


Candy Cane Blend

4 drops peppermint
5 drops vanilla


Comfort and Relaxation Blend

5 drops vanilla
4 drops lavender


Medicinal Essential Oil Recipe Blends for Cold and Flu Season

Essential oils smell wonderful, but they are more than just a pretty scent- many have very impressive medicinal benefits. Below are some suggestions of essential oil combinations that are particularly helpful during the winter months. 

The amounts below are appropriate for use in an essential oil diffuser, like those we have available at the store, though the same ratios could be used for making a therapeutic balm or an atomizing spray, though you may need to change the quantity of oil depending on how much you’re making.


Sinus Blend for Relieving Congestion

Eucalyptus is amazing for opening up the sinuses, and is also extremely effective at killing airborne microbes when used in a diffuser. Camphor is also a great antiviral and antibacterial oil, and its vapors are great at reducing cold symptoms. Peppermint is very soothing and can calm irritated respiratory passages, so it’s a nice addition to this blend. The optional addition of cedarwood can help with calming coughs if they are accompanied by sinus congestion. 

5 drops eucalyptus essential oil
3 drops camphor essential oil*
2 drops peppermint essential oil

For sinus congestion with a cough, add 3 drops of cedarwood essential oil to the above blend.

*Do not use camphor topically on children, or in a diffuser for very young children.


Respiratory Blend to aid in Relieving Coughing and Purify the Lungs

Hyssop is a very purifying oil and is used to help with reducing excess mucus in the respiratory tract. Cedarwood can help to quell coughs and helps to reduce and loosen phlegm in the lungs when inhaled. Frankincense is useful for breathing problems including bronchitis and asthma, and anise helps to calm a cough.

4 drops hyssop essential oil
3 drops cedarwood essential oil
3 drops frankincense essential oil
2 drops anise oil essential oil


Antibacterial Brightening Blend

This is a nice fresh smelling blend which also helps to kill bacteria in the air- bergamot, lemon, and lemongrass also have very potent antibacterial qualities and smell very nice together. It also helps to freshen stale air in a home.

4 drops bergamot essential oil
4 drops lemon essential oil
4 drops lemongrass essential oil


Winter Sleep Blend

Many of us are congested through the colder months of the year, so this blend combines the power of eucalyptus with soothing lavender oil, which has been shown in a number of studies to be a very effective sleep aid.

5 drops eucalyptus essential oil
5 drops lavender essential oil


“Thieves Oil” Purifying Blend  

These are the combination of oils traditionally as a purifying blend for illness and immunity.

We have also begun carrying a premixed blend based on the legend of the four thieves called Nature’s Shield at the store. You can read more about the blend here. 

5 drops clove bud essential oil
4 drops lemon essential oil
3 drops cinnamon bark essential oil
2 drops eucalyptus essential oil
1 drops rosemary essential oil


Also on our website:

Disinfecting the Air with Essential Oils

Essential Oil Research Studies and Benefits

Nature's Shield: Our "Thieves Oil" Blend