Natural Beard Oil Recipe - DIY with Essential Oils

There are a variety of essential oils that are great for using as part of a beard oil recipe, and you can mix and match depending on your personal preferences. See below for more information on the benefits of specific essential oils for beard health and growth.

portrait-3327337_1920.jpg

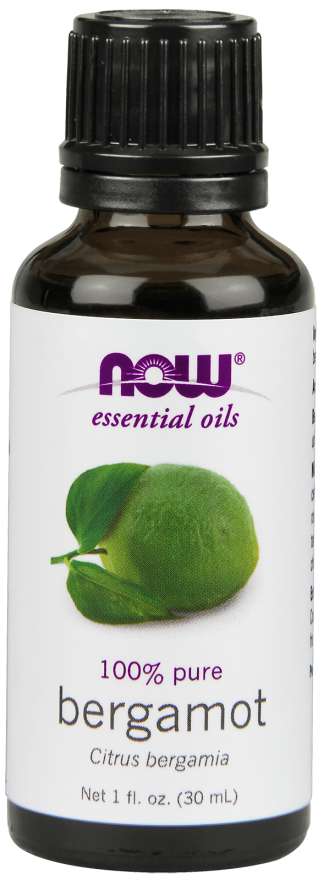
Bergamot has natural antiseptic properties and has a nice, fresh, slightly green, slightly lemony scent. Bergamot is best known as an ingredient in Earl Grey tea.

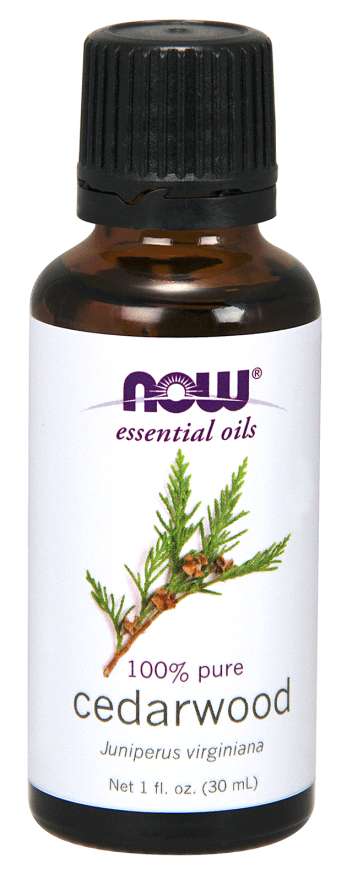
Cedarwood has a great woodsy scent without being overpowering. It has antbacterial and antifungal properties and is said to help with increasing circulation.

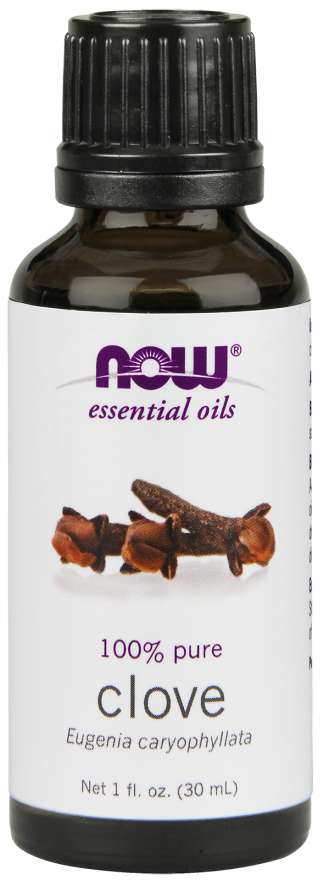
Clove oil gives blends a wonderful, slightly spicy depth. Like the oils listed above, it has natural antiseptic qualities and is also said to help with hair growth and preventing hair loss.

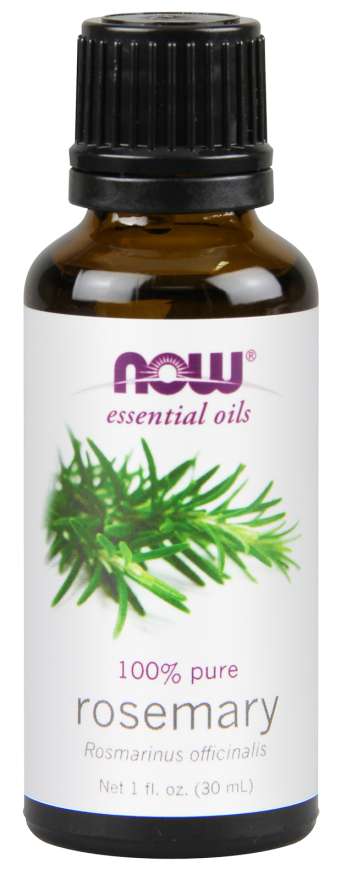
Rosemary oil is used to help with strengthing hair, it also has a nice, fresh scent. It can help with reducing skin redness and stimulate circulation around hair follicles, encouraging hair growth.

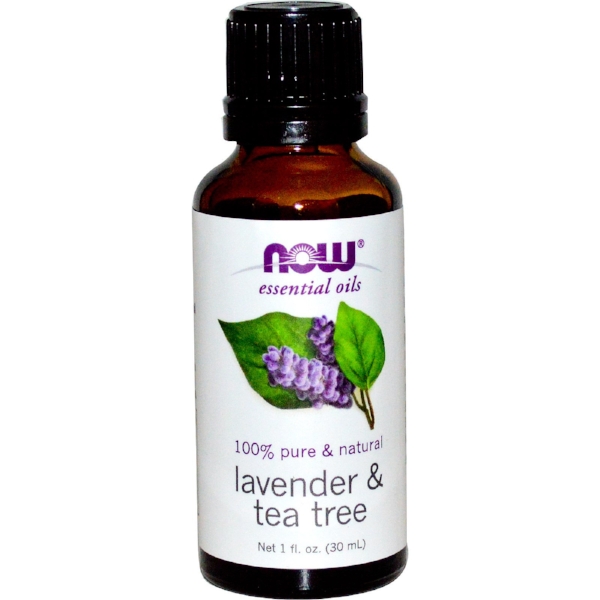
Other oils with benefits for beards would be lavender, tea tree, peppermint, and patchouli, so feel free to experiment with scents in making your beard oil.

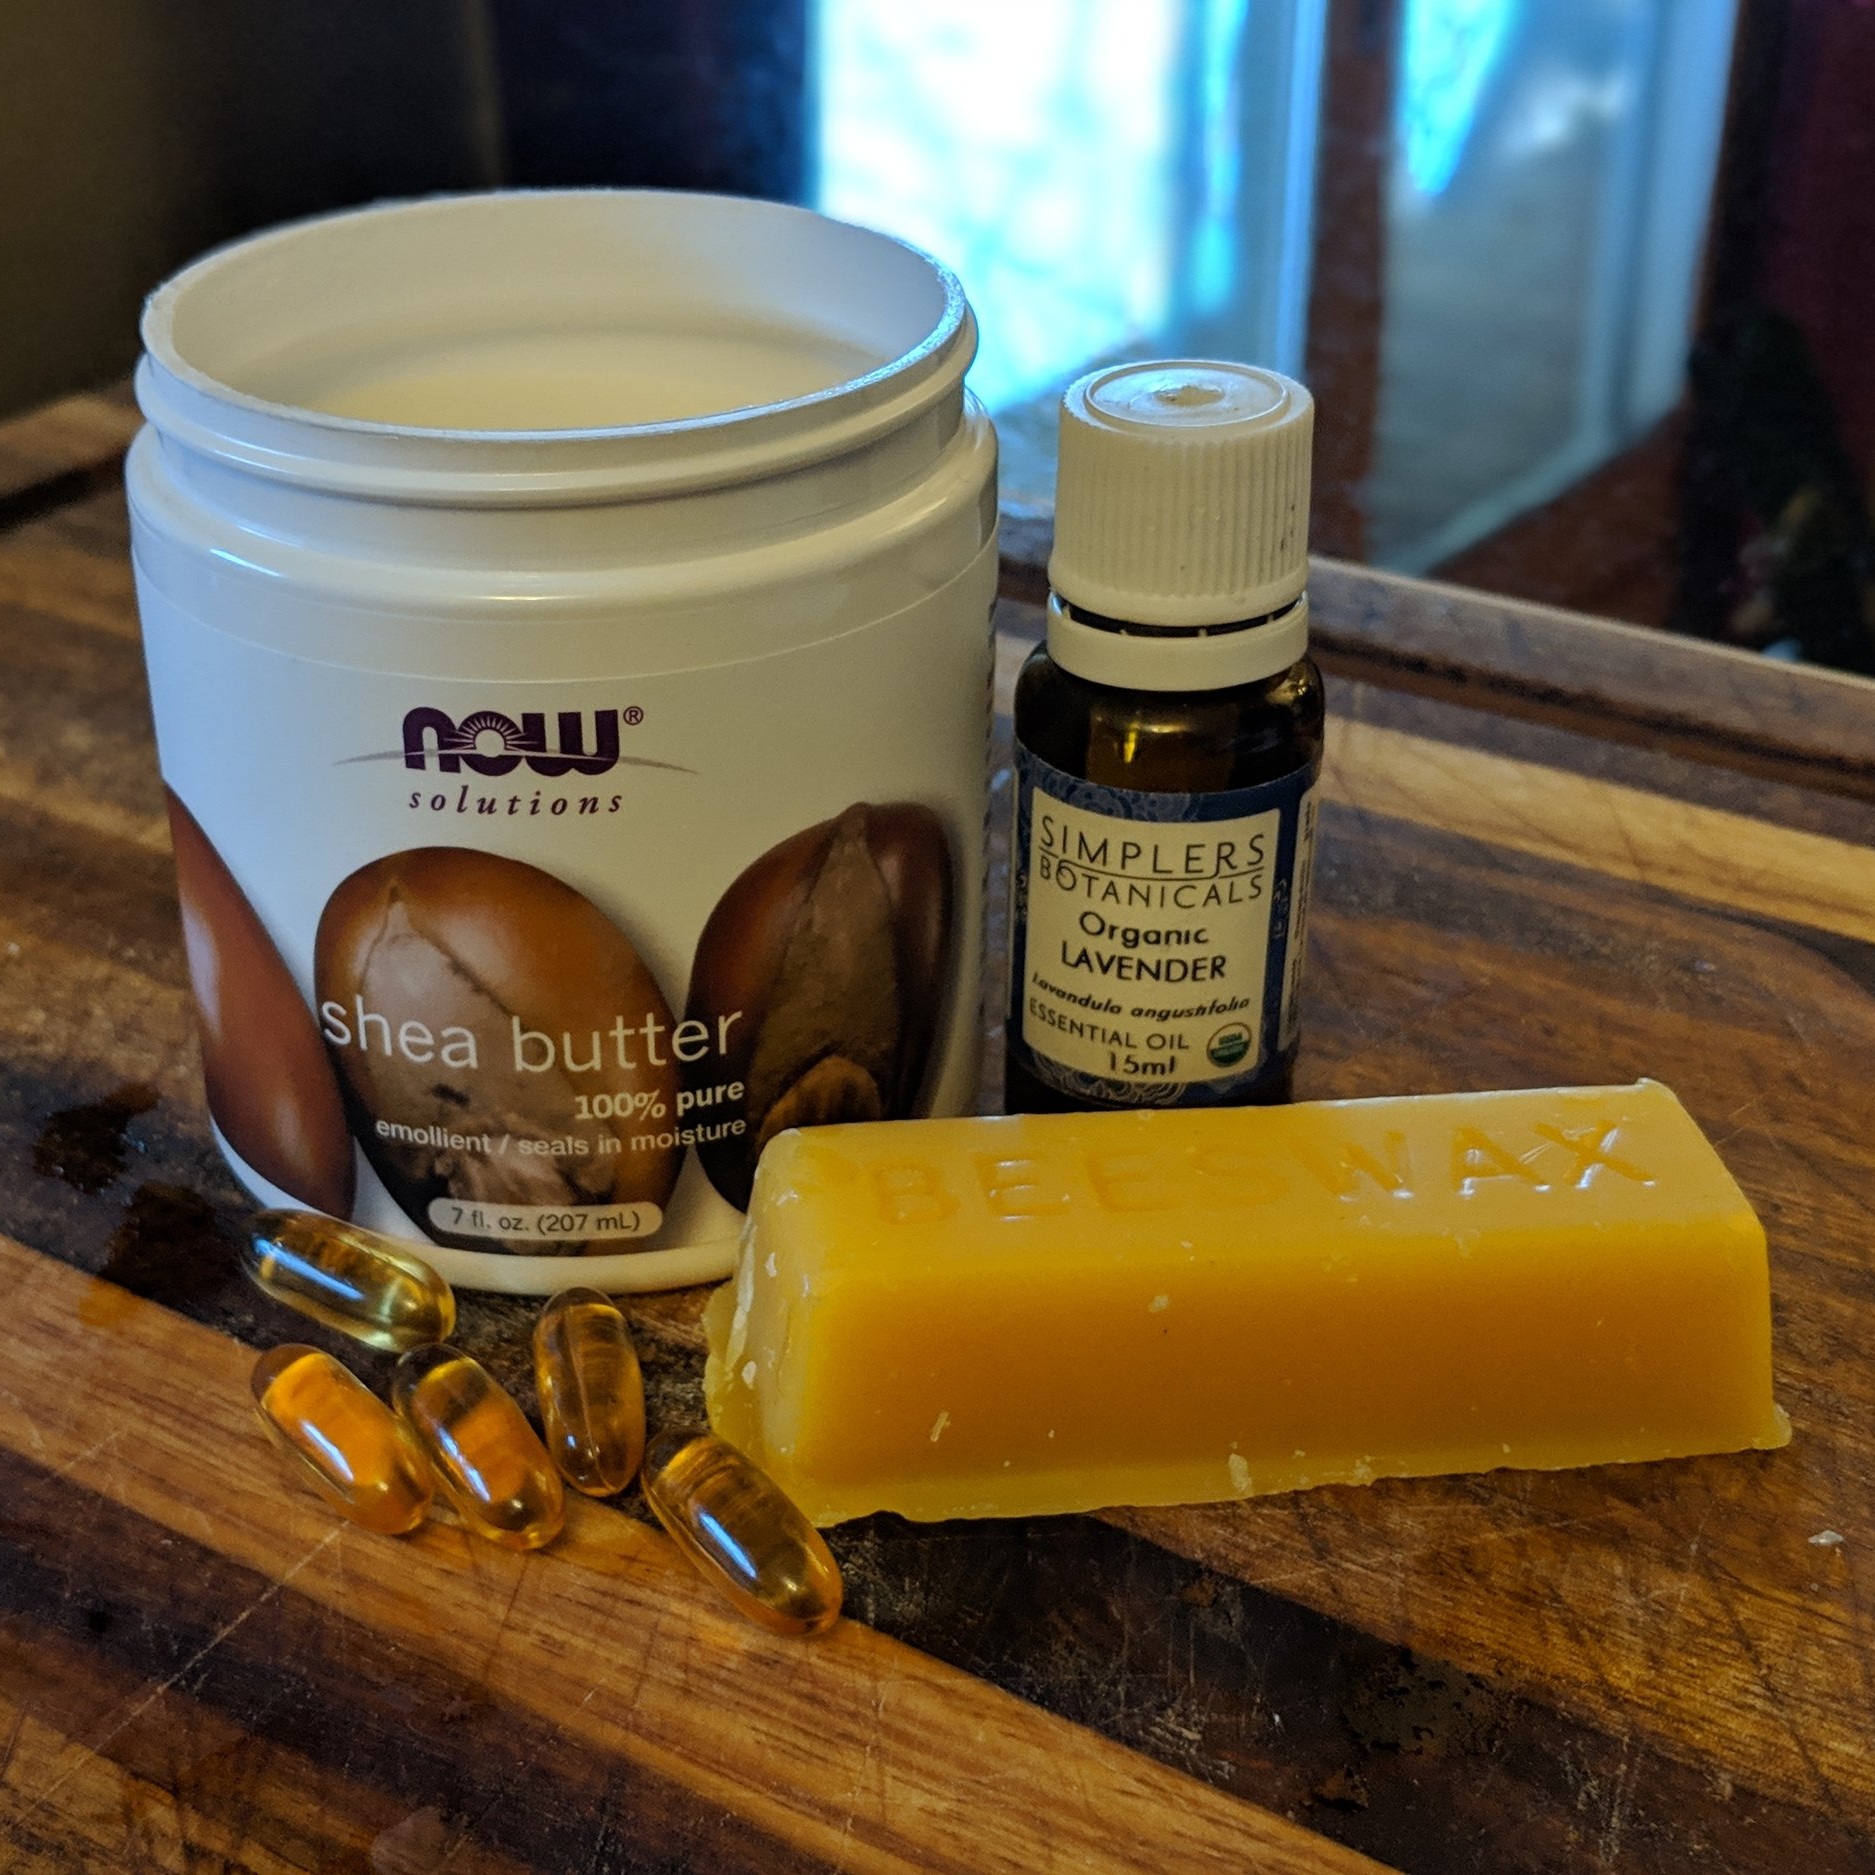
Essential oils should always be mixed with a carrier oil before being applied to the skin, since essential oils are very strong and can irritate the skin when not diluted.

There are many different carrier oils available, though we recommend using jojoba oil for this recipe since that oil is closest to the skin’s natural oils and helps to protect and moisturize hair without feeling oily. It also helps to prevent acne and skin irritation around the beard.

DIY Beard Oil:

1 oz dropper bottle (we sell amber glass dropper bottles at the store)

Jojoba oil

5 drops cedarwood essential oil*

4 drops bergamot oil*

3 drops clove oil*

3 drops rosemary oil*

*Alternately, you could do a combination of 15 drops total of any of the essential oils for beards listed above.

To make the beard oil, fill an empty 1 oz dropper bottle with 15 drops of essential oils (either the oils listed above or any others you prefer) and then fill the rest of the way with jojoba oil. Make sure to not fill the bottle too high with oil so it doesn’t overflow when the dropper is put back in.

To use, apply on a freshly washed beard, warming the oil in your hands before rubbing on to the beard. Once the oil has been applied and gently rubbed in, it can be helpful to use a comb on the beard depending on length.

The amount needed depends on the length of the beard. Shorter beards might only need 2-3 drops, whereas a longer beard may need 4-6. Experiment with what works best for you. Apply once or twice a day to encourage beard growth and to condition your beard.

In particular, we recommend our NOW brand of essential oils. They’re a local company that makes high quality essential oils for a very reasonable price. They test each batch of their essential oils for purity and quality (read more about their testing methods here). Stop by the store to try them out- we have essential oil testers of each essential oil we sell- at 7228 W. College Drive in Palos Heights, IL.

Castor Oil for Eyelash Growth- DIY

We have had numerous people asking about castor oil for eyelash growth (eyebrow growth as well). We do carry pure, cold pressed castor oil at the store and have also found empty mascara tubes that we have available for sale so you can make your own eyelash (or eyebrow) serum preparations.

Castor oil has been getting a lot of press lately for possibly helping to encourage eyelash growth. There is some research that has linked an ingredient in castor oil with encouraging hair growth and preventing hair loss, though it is far from conclusive. Still, using castor oil (particularly when it is used with an eyelash brush container like we have at the health food store) won’t hurt, and will definitely help with moisturizing eyelashes as well as reducing damage and breakage of eyelashes. Using an eyelash brush will help to apply castor oil only to the eyelashes, since you don’t want to put castor oil inside your eyes.

I’ve started using just straight castor oil on my eyelashes to see if it makes a difference- the oil is thick so it coats the eyelashes really well without dripping or anything. I don’t feel extremely hopeful that it’s going to make my eyelashes significantly different, though I guess conditioning eyelashes (which I know it at least is doing that) is only beneficial, but who knows. It’s inexpensive and doesn’t hurt, so I figure it’s worth a try!

I’ll link a couple other recipes below that I’ve found online that you may want to try:

Growth Serum with Castor Oil, Emu Oil, Coconut Oil, and Vitamin E

Eyelash Growth Serum with Castor Oil and Lavender and Cedarwoood Essential Oil

I would especially advise making sure to use an eyelash brush with the above recipe, since you don’t want essential oils going in your eyes.


Good luck!

DIY Shea Butter & Vitamin E Lip Balm

This lip balm recipe is incredibly simple. I usually make my lip balm with a combination of beeswax, coconut oil, and cocoa butter, but wanted to try something a little different.

This recipe uses vitamin E softgels, shea butter, and beeswax. If you want something simpler, you could even substitute the vitamin E for more shea butter or a different type of oil, but I liked wanted it in the recipe since vitamin E is so healing to the skin.

This recipe makes a ton of lip balm- 16 tubes, though making that many tubes is unnecessary if you don’t have that many empty lip balm tubes. Excess can be put into a small container or tin. We have all the ingredients available at the store, including lip balm tubes.

00100dPORTRAIT_00100_BURST20190325141222816_COVER.jpg


INGREDIENTS:

1 2oz. bar of beeswax

3 tbs. NOW Foods shea butter

2tsp. vitamin E oil*

40 drops essential oil (I used Simpler’s Botanicals lavender oil)

*Note: I used Solgar’s 400IU vitamin E softgels to make this lipbalm, though we do have liquid vitamin E at the store. It took me 13 softgels to make 2 tsp.


DIRECTIONS:

Assemble all ingredients before starting, and have all the lip balm containers opened and laid out, since the melted mixture needs to be poured before it begins to cool and solidify.

Melt the beeswax in a small pan over medium low heat.

Once the beeswax is almost entirely melted, add the cocoa butter.

When the beeswax and cocoa butter are melted, remove from the heat and add the vitamin E oil and essential oils, stirring until combined.

Pour the mixture into a glass Pyrex measuring container and carefully pour into each of the empty lip balm tubes.

Leave the tubes uncovered until the mixture becomes solid.

If desired, when the lip balm is completely solid, you can turn the lip balm a couple millimeters above the edge of the tube, cutting off the tops with a knife to make a flat top (the tops of the tubes solidify a bit concave in the center).

DIY Warming Muscle Rub with Essential Oils

We found an amazing recipe that uses essential oils that works really well for pain- plus it’s easy to make!

Sore-Muscle-Rub-5.jpg

Ingredients:

¼ cup olive oil

¼ cup shea butter

2 tablespoons beeswax pellets

45 drops camphor essential oil

35 drops peppermint oil

20 drops eucalyptus essential oil

25 drops cinnamon essential oil

15 drops clove essential oil

See the entire recipe and directions at Hello Glow!

DIY Essential Oil Dryer Sheets and Laundry Deodorizer

This simple recipe works very well as naturally a scented “dryer sheet”, and also as an effective deodorizer for laundry!

53527528_m-750x458.jpg

Ingredients:

½ c. white vinegar

16 drops essential oils

Bottle for storage (I’m using an old water bottle)

Directions:

Combine the vinegar and essential oils in your bottle and shake before using. Before putting laundered clothes in the dryer, pour a small amount (a couple tablespoons) of the vinegar mixture on a clean cloth or sock. The vinegar smell will deodorize the laundry but dissipate as it dries, leaving you fresh smelling laundry lightly scented with essential oils!

You can use any combination you like (my favorite is a mix of bergamot and spearmint, I also like lavender), just avoid using thick, dark colored essential oils like patchouli, myrrh, etc.

I have used this recipe on several loads of laundry without any issues with staining, but I would use caution with delicate fabrics.

If you like the recipe, feel free to double or triple it for convenience. I personally like making it in small batches so I can change the scent frequently.

DIY Essential Oil Scented Lotion

This month’s recipe is a simple one that can be very useful. Essential oils are fantastic for so many things, not to mention just smelling great too. The vast majority of essential oils should be diluted before using (all should be in fact, with the exception of lavender and tea tree) before using on the skin since most oils are too strong to be used topically without dilution and can cause skin irritations.

A 2% dilution is generally recommended as safe for adult use on a daily basis, whereas a 1% dilution is recommended for use on children.

Essential oils are usually diluted with a carrier oil, but the downside of that is that using oils on the skin can feel “oily” which is not something everyone likes. Mixing essential oils with a prepared unscented lotion is a wonderful and simple way to dilute oils for use on the skin, as well as naturally scenting a lotion to your exact scent preference.

We have a great unscented lotion at the store by the brand Everyone that comes in a 32oz. pump bottle. For a 2% dilution of 32oz. of product you would need 2 tsp. of essential oils. I wanted to use spice oils in my blend, which are known to be possibly irritating to the skin, so I decided to use 1 ½ tsp. in the blend I made, which I still felt was plenty strong enough (which worked out to be a 1.5% dilution).


Supplies Needed:

32oz. bottle of unscented lotion (I used the Everyone brand)

5 teaspoons of essential oils (any combination of oils equaling 5 teaspoons)

Gallon zip lock bag

Gallon sized container (optional)

Spoon


It’s handy to have a container that a gallon zip lock bag fits over the edges of, though you can just do it with a plain gallon zip lock bag. It’s recommended to gather all the materials before starting so everything is at your fingertips.

20181226_155148.jpg

Remove the pump from the container of lotion, and pour the entire container of lotion into your gallon zip lock bag.

Add whatever combination of oils you desire to your mixture, totaling 5 teaspoons of oil. I used a combination of patchouli, cinnamon, clove, and orange- a blend of essential oils I really enjoy. Since I love patchouli, I did one teaspoon of that and then used half teaspoons of oils for the rest, which equaled a total of five tablespoons.

20181226_155651.jpg

Stir the mixture inside the ziplock bag until the oils are fully incorporated into the lotion.

When the mixture is mixed, seal the top of the bag and snip the edge off of one of the bottom sides of the bag and gently squeeze the lotion back into the original bottle. Make a smaller cut off the corner that you think, since if the hole is too big it will make it difficult to squeeze the mixture back into the lotion container.

When you’ve squeezed all the lotion back into the container, screw the pump top back on and give the bottle a vigorous shake.

That’s it!  This is my first time making a DIY scented lotion, and I absolutely love it and will definitely be doing it again. Another benefit is that I think the scent lasts on the skin much longer than standard scented lotions, even naturally scented ones. I am really happy with how this lotion turned out since so many of the lotions regularly available are flowery or fruity scents, which are not my favorites, so it’s nice to make a custom blend.

Some other ideas for lotions are:

Lemon oil + rosemary

Lavender + spearmint + bergamot

Lemon + bergamot

Cedarwood + atlas cedar

Pine + balsam fir

Tangerine + clove + anise

…the possibilities are endless!

DIY Anti-Stress Essential Oil Blends

Using essential oils in the home with a diffuser is a wonderful way to both scent the home naturally, but they also can help to change your mood!

Lavender essential oil is traditionally used and approved by the European Medicines Agency (EMA) as an herbal medicine to relieve stress and anxiety.

There are a variety of clinical research studies on lavender oil which have been done with positive results for anxiety and depression. Smelling lavender oil appears to affect brain receptors that can help to reduce anxiety and depression, amazingly.

Another essential oil that has shown benefits for mood and stress relief is orange oil. It’s been studied for its benefit in reducing anxiety in both children and adults with positive results (here’s a link to a study on orange oil and children’s anxiety). Orange oil has also been the subject of animal studies finding benefit for anxiety and depression.

The third oil oil we recommend for stress is rose, which has been found in research to help with reducing stress and even lowering blood pressure!

Our Anti-Stress, Relaxing Essential Oil Blend

6 drops rose absolute essential oil

4 drops lavender essential oil

4 drops orange essential oil

Add oils to the water in a diffuser. If the scent is too strong for your home, reduce the quantities for your room size.

Note: Some people are sensitive to the smell of rose and really dislike the scent (I can’t understand how anyone can’t like the smell of roses, but to each their own). If that is the case with you, feel free to leave the rose oil out- the orange and lavender make a nice combination on their own.

I also wanted to share another rose blend that I’m really loving during the cold, dreary days we’ve been having. It’s a warming, comforting blend that has a number of benefits. In addition to rose, which helps with stress, it’s combined with patchouli, which has been used for many years as a relaxing and mood boosting oil. The third ingredient is clove oil, which has antibacterial and antifungal properties and can even help with improving indoor air quality.

This blend really makes the home smell wonderful as well. I’ve been using it in the diffuser a lot at the store and always get lots of compliments.

Our Comforting, Stress Relieving Blend

4 drops clove essential oil

4 drops patchouli essential oil

6 drops rose absolute essential oil

Add oils to the water in a diffuser. If the scent is too strong for your home, reduce the quantities for your room size.

Stay Healthy with Essential Oils: Benefits Backed with Scientific Research

Unfortunately the cold November weather this month heralds the true beginning of cold and flu season. Essential oils are a nice way to scent the home naturally, but did you know that many essential oils have real, scientifically documented benefits?  Certain oils, like eucalyptus, have actually been shown to kill airborne bacteria and viruses when diffused into the air. 

See the article linked below for more information on antimicrobial essential oils and specific links to research studies:

Disinfecting the Air with Essential Oils

Additionally, these articles from our website may be helpful for preventing illness and helping to manage symptoms if you do get sick:

Medicinal Essential Oil Recipes for Cold and Flu Season

Nature's Shield: Our "Thieves Oil" Blend

Also, for more information on scientific research on various essential oils, see this article on our website:

Essential Oil Research Studies and Benefits

Easy DIY Shoe Deodorizer Recipe

This simple recipe is an easy solution for stinky shoes that uses baking soda and essential oils. Baking soda is a fantastic odor absorber and neutralizer, and adding essential oils makes it even more effective.


The Recipe:

¼ cup baking soda

20 drops essential oils*

Stir essential oils into baking powder until thoroughly combined. Store in a sealed container or zip lock bag.

*Cedarwood, lavender, and tea tree are my favorites for this recipe, though any essential oils or essential oil blends will work. Tea tree oil is especially good to use as part of your blend since it has strong antibacterial and antifungal properties.


Liberally sprinkle the mixture on the inside footbed of the shoes (you should use enough that there is a fine layer covering the entire inside of the shoe). Let sit overnight and shake excess baking powder out in the morning. For especially stinky shoes, let the mixture sit in shoes for 24 hours or longer before removing.

Sprinkling works great for shoes like gym shoes or boots which are worn with socks since if there is a tiny bit of baking soda left in the bottom of the shoes, it’s unnoticeable when wearing socks.  For shoes that are worn barefoot like ballet flats, you can put ¼ cup of the mixture in a piece of cloth (or inside a thin sock) and tie, making a sachet.  Place the baking soda filled cloth in shoes overnight to soak up odors without leaving any baking soda residue.  It’s also best to use the sachets for leather shoes since baking soda can damage leather with repeated use.

Over time, the sachets will need to be refilled with a fresh baking soda and essential oil mixture to retain effectiveness, but they can be used a number of times before they start to lose effectiveness.

Lavender and Tea Tree Oil for Bug Bites and Much More

Tea Tree and Lavender make an amazing combination of essential oils. They’re especially effective on itchy bug bites, but their benefits go far beyond that.

Tea tree oil is a fantastic essential oil, which actually began to come into more popular use in World War II, when Australian soldiers carried tea tree oil in their first aid kits as treatment for skin injuries. Tea tree oil has natural antibacterial and antimicrobial properties, which can help with a variety of skin problems, but can also help with reducing the itching of insect bites.

The only trouble with tea tree oil is that it has a bit of a medicinal smell. Lavender oil is another wonderful therapeutic essential oil which when combined with tea tree oil, helps to mask the scent as well as increase the blend’s effectiveness. 

Lavender is best known as a relaxing oil that can help with sleep, but it has many other benefits, including being very beneficial for skin issues. It is very soothing to the skin, and can also speed healing as well as having pain relieving properties.

Interestingly, both tea tree oil and lavender oil are two of the very few essential oils that can be used directly on the skin without diluting (though we would still recommend mixing with a carrier oil for use on the face or on people with sensitive skin).

NOW Foods has a nice combination of tea tree and lavender oil that we would recommend since it’s so easy to use, being a premixed blend of the two oils.  Give it a try on insect bites to help relieve the itching and help them to heal faster (however, it’s not recommended to use the oils on broken skin or open wounds).

The combination of lavender and tea tree oil is also great for cleaning around the house. Both have antibacterial properties, so a few drops on a damp washcloth works great for cleaning around kitchens and bathrooms.


lavender and tea tree.jpg

DIY After Sun Spray

This simple recipe is absolutely fantastic as an after sun spray and is also very soothing and healing for sunburn.

Both aloe and witch hazel are soothing to the skin, and can help with reducing pain, itching, and peeling if you do happen to get a sunburn. In addition to the aloe and witch hazel, this recipe also uses a bit of essential oils, which add additional healing properties. The peppermint oil in this spray gives a fantastic cooling sensation to the skin, and lavender oil is calming and healing to the skin.

This recipe makes a 2oz bottle, but can easily be doubled (or tripled!) for a larger spray bottle.

The witch hazel has preservative properties, so it can be stored at room temperature, but storing in the fridge can make this spray feel even better on hot, sun damaged skin.
Interestingly, my daughter also feels this spray helps with reducing the itching of bug bites, so that’s a nice additional use!

Ingredients:

2 tbs. witch hazel
2 tbs. aloe vera juice
6-12 drops lavender oil
6-12 drops peppermint oil

Add all ingredients to 2 oz. amber bottle (available at the store), taking care not to overfill. 

The different essential oil amounts are for two different dilutions. The smaller amount is for a 1% essential oil dilution, which is the amount recommended for children or those with sensitive skin, whereas the larger oil amount is a 2% dilution, which is the amount recommended for general adult use.

Apply as desired after sun exposure!

Natural Insect Repellents for People, Pets, and Gardens


We have a great new essential oil blend available this month by NOW called Bug Ban. It’s a fantastic mix of essential oils that are very effective at repelling mosquitoes and other nasty summer insects. We also have a few new essential oil based insect repellent sprays available at the store, including a new one especially formulated for young children, be sure to stop by to check them out! 


We also have our own DIY Essential Oil Insect Repellent Recipe on on our website, as well as a great natural Flea and Tick Recipe for Dogs and Cats.

Additionally, I thought I'd link to a great article from our website on how neem oil can be very effective as a natural garden spray against bad bugs in the garden (I actually need to mix up a batch today since something is feasting on my phlox plants).


Enjoy this gorgeous weather!!
 

Essential Oils for Cellulite and Skin Tightening

We have had several people ask for cellulite oils at the store, so I thought we’d post an essential oil recipe for cellulite.

First, let me say that in general, having cellulite is genetic.  Cellulite is caused when fat deposits push through connective tissues near the skin.  Even people who are slender and fit have cellulite, in fact, 90% of women will experience cellulite in their lifetime.

I am skeptical of most cellulite creams on the market, especially those advertising “miracle results”.  Still, there are several essential oils that may help with tightening and detoxifying the skin to reduce the appearance of cellulite.

Grapefruit oil can help to remove toxins from the body. Juniper oil can help with reducing water retention. Cypress oil can help to improve circulation, as well as reducing water retention. Rosemary and cinnamon oils can also help to improve the circulation of blood in the body. Orange oil also helps with circulation, and can work to tighten the skin.

  • 1 oz. amber glass dropper bottle
  • 3 drops of grapefruit oil
  • 3 drops of juniper oil
  • 3 drops of cypress oil
  • 3 drops of rosemary oil
  • 3 drops of orange oil
  • Carrier oil of your choice- coconut and avocado oil are nice and moisturizing

Put the essential oils in the bottom of the dropper bottle and fill the rest of the way with a carrier oil. Be sure not to overfill the bottle so you’re able to put the dropper back in without overflowing.

Rub the oil mixture on problem areas before bed or as desired.

Natural Odor Eliminator with Essential Oils

This is a great essential oil recipe for helping to neutralize odors. It works extremely when sprayed on clothing and fabrics to remove unpleasant odors, as well as an overall room freshener (one of our employees keeps a spray bottle of this in the bathroom, and her family loves it!). The witch hazel helps to keep the oil and water mixed, and also works as a natural preservative. Chemical-laden air fresheners are terrible for our lungs and add to the overall toxic load in our homes, so this is a wonderful, natural alternative!

Ingredients:

2 oz. amber glass spray bottle
1 oz. witch hazel
1 oz. water

8 drops of lime essential oil
5 drops of bergamot essential oil
5 drops of lavender essential oil
5 drops of spearmint essential oil
3 drops of tea tree essential oil

Directions:

Fill a 2 oz. amber spray bottle a little less than halfway with witch hazel. 
Next, add the essential oils.
Finally, fill the bottle the rest of the way with water (do not fill the bottle up to the neck so the atomizer top can still be put on.

This recipe can also be multiplied if using a larger spray bottle.

When using on clothing, I recommend spraying it on the inside of the garment. It works best on heavier materials like sweaters. I would not recommend using it on delicate fabrics, just to be on the safe side.

How to Use Neem Oil for Healthy Hair and Scalp

The oil from the neem tree has been used in traditional Ayurvedic medicine for thousands due to its healing properties. In Hindu texts, neem is referred to as the plant that “cures all ailments and ills” and has its roots in the Sanskrit word meaning “bestower of good health”.

Neem oil is a potent source of beneficial oils and is astringent, antibacterial, and antifungal. It also helps to boost circulation and repels lice and mites.

Neem oil can be beneficial to the skin and hair, and is often used to rejuvenate hair growth as well as to combat a variety of problems of the scalp including psoriasis and eczema, scalp irritation, and dryness and dandruff. Massaging neem oil into the scalp before bed or a few hours before washing can make a big difference in the overall health of the scalp.
Neem oil can also help with the overall condition of the hair, since neem is rich in essential fatty acids, which help to nourish dry and damaged hair. 

The only drawback to neem is that it has a slightly odd or medicinal smell (it personally reminds me of peanuts). If you dislike the natural smell of neem, you can add a small amount of essential oils to the neem oil before applying to the hair (which will also enhance its benefit). For dry and damaged hair, try sandalwood or geranium oil; for encouraging hair growth try atlas cedar, juniper berry, cedarwood, or lavender; for oily hair and scalp try patchouli, rosemary, or ylang ylang.

One more note about neem oil- at room temperature (especially when it’s on the colder side) neem can begin to turn solid, so when you open a bottle, you may see tiny chunks of oil on the dropper. It doesn’t mean there’s anything wrong with the oil, it’s just what it naturally does. If you find your neem oil beginning to solidify around the dropper or cap, just run the bottle under warm water for a minute and it should be fine.

I’ll also link another article below that you may find beneficial:

How to Use Hair Oils for Gorgeous Hair

Be Well!
 

now neem.jpg

Dog and Cat Foot Pad Protectant Salve for Winter

This recipe is fantastic for winter! It helps to protect animal's paws against the harsh winter weather!

puppy-487960_1920.jpg

Ingredients:

•    4 tablespoons coconut oil
•    4 tablespoons shea butter
•    1 (2 oz.) bar of beeswax
•    3 tablespoons olive oil
•    40 drops lavender essential oil
•    Wide mouth containers and lids

Melt beeswax in a double boiler or bowl inside a pot of boiling water.
Once the beeswax has melted, add the other oils, followed by the lavender oil.
Pour into containers (if using plastic containers, let mixture cool slightly before pouring.


Apply to dogs or cat’s feet before letting them outside in the cold as a barrier against the elements, This balm helps to prevent cracking and excessive drying of the paws.
 

Basic Essential Oil Room Spray Recipe

This basic recipe also works great as a linen spray for freshening sheets and even as a natural Febreeze (though I would avoid using it on fine fabrics since the tiny oil droplets may stain- it works great sprayed on the insides of sweaters or coats, however).


INGREDIENTS:

2 OZ AMBER SPRAY BOTTLE
2 TBS. WITCH HAZEL
20 TO 30 DROPS TOTAL OF ANY COMBINATION OF ESSENTIAL OILS
WATER

NOTES:

This recipe can also be easily multiplied to use in a larger spray bottle

Additionally- this recipe can also be used as an essential oil perfumed body spray. If doing so, however, you may wish to reduce the amount of essential oils used by half.
 

Directions:

Add 2 tbs. witch hazel to an amber spray bottle followed by the essential oils. Fill the rest of the bottle with water- don’t fill the bottle all the way to the top so there’s enough room to put the atomizer top back on. Shake well.

A simpler way to do this without using measuring spoons is to fill a 2 oz. bottle a little less than half of the way with witch hazel, then fill to roughly 80% with water before adding your essential oils. Top off with a bit of water to fill if desired, though take care to make sure that the top of the liquid mixture is slightly lower than the neck so it doesn’t overflow when the top is put on. 
 

How to Make Essential Oil Rollerbottles (with proper dilution ratios)

Essential oil roller bottles are simple to make, and are handy to use on the go since they’re inexpensive to make and are quick to apply- they’re a much better choice than carrying around an entire bottle of essential oil in your bag or pocket.

The following dilutions are for a 10ml roller bottle. Fill your roller bottle 80-90% full with a carrier oil before adding your essential oils. A carrier oil is an unscented oil that is used to dilute essential oils so they can be used on the skin (undiluted oils can irritate the skin). Jojoba or grapeseed oil are our favorite oils to use in a roller bottle.

It’s best to err on the side of slightly less since you don’t want it to overflow when you put the roller top back on. Once filled with essential oils, the liquid in the bottle needs to stay slightly below the neck before replacing the top.

10ml Roller bottle Dilution Chart:

.5% Dilution: 1 drops of essential oils per roller bottle
1% Dilution: 2 drops of essential oils per roller bottle
2% Dilution: 4 drops of essential oils per roller bottle
3% Dilution: 6 drops of essential oils per roller bottle
5% Dilution: 10 drops of essential oils per roller bottle
10% Dilution: 20 drops of essential oils per roller bottle


The Natural Institute for Holistic Aromatherapy recommends using the following dilution ratios:

A .5-1% dilution for topical use on young children or for sensitive adults

For adult use, a 2-10% dilution ratio is the general recommendation for topical use. 


The following oils may cause skin irritation when applied to skin, so it is especially important to use them with proper dilutions: cassia, cinnamon, clove, balsam fir, sage, and thyme. Also, citrus oils can cause the skin to be more sensitive to light (not usually something to be worried about with a proper dilution, just something to be aware of).

Roller bottles are fun to make and are handy for lots of applications!
 

Our Favorite Fall Essential Oil Blend Recipe

This month I wanted to share our favorite fall essentials blend. We use it in our diffuser all the time at work and always get compliments!  This combination of oils smells extremely comforting and is perfect for the chilly, dreary days of fall.

fall oils.jpg

How many drops you use in your diffuser is entirely up to you, and can be increased or decreased depending on how strong of a scent you prefer.

Generally, in a diffuser at home, I use 8-10 drops, though at the store we’ll often use 13-15 drops at once since it’s a large, open room.

In your diffuser, drop in equal amounts of:

Orange Essential Oil

Patchouli Essential Oil

Clove Essential Oil

Cinnamon Bark Essential Oil

Patchouli sometimes has a bad stereotype associated with it, but it adds creaminess and depth to other essential oils. The scent of patchouli is also relaxing as well as mood-boosting. 

Orange oil is also a nice mood-boosting essential oil. Increase the amount of orange in this recipe for a brighter, cheerier blend.

Clove and cinnamon bark essential oils are fantastic spice oils that have a warming effect on the body. Both of these spice oils also have antibacterial properties and are effective against airborne bacteria when diffused into the air.


Other ideas are to trade lemon oil for the orange oil in this recipe, or to add a drop of anise or nutmeg oil for a slightly different blend. The possibilities are endless.


Essential Oil Pain Relief Recipe

This is a very effective recipe for pain that smells really nice!  It’s not at all medicinal or strong smelling, and it works very well for pain and sore muscles or cramping (including menstrual cramps).
 
The recipe below is a 10% essential oil dilution, which is meant for acute pain and injuries.  It is the most effective dilution for topical issues, but it is not meant to be used every day on an ongoing basis. If daily is desired, it is best to dilute the essential oils in the recipe below by half or more.

Items Needed:

1 oz dropper bottle
10 drops cinnamon bark essential oil*
10 drops camphor essential oil
10 drops eucalyptus essential oil
10 drops peppermint essential oil
5 drops clove essential oil
5 drops rosemary essential oil
Carrier oil (I used fractionated coconut oil, but any carrier oil can be substituted)
 
*Note: Cinnamon bark is one of the more expensive oils in this blend, so if desired, you can substitute cinnamon cassia, which has similar benefits.  The difference between the two is that cinnamon bark uses only the bark of the cinnamon tree, so it has the cleanest scent; cinnamon cassia is made from the bark, twigs, and leaves.  Cinnamon cassia has similar benefits to cinnamon bark, but does not have the pure, clean, cinnamon scent that cinnamon bark has.
 
Note 2: The recipe above is the most effective, but if you do not already own any of the above oils, I’m not suggesting you need to run out and buy six different bottles of essential oils to make a pain blend.  The most important oils in the above blend are cinnamon, camphor, and peppermint.  You can substitute oils for the others or use them in slightly different ratios if needed.  A 10% dilution uses 60 drops of essential oils for 25ml of carrier oil (which is 5/6 of an ounce or 5 teaspoons).  To make a less concentrated version to use on a regular basis, you can reduce the amounts of essential oils listed above by half or more.
 
Directions:

Combine essential oils in a 1 oz amber dropper bottle (available at the store).  Fill the remaining space in the bottle with your preferred carrier oil to the base of the neck (so it doesn’t overflow when you put the dropper in).

Shake the bottle gently to disperse the essential oil in the carrier oil and rub a small amount (1/2-1 dropperful) on the affected areas. To apply, drop the oil onto your palm and rub hands together to warm the oils before applying for maximum benefit.

The above recipe can also be used in a 2 oz spray bottle with magnesium oil (which will even further boost its pain relieving powers).  For a 2 oz bottle, double the amount of essential oils used and substitute magnesium oil for the carrier oil in the recipe above.