
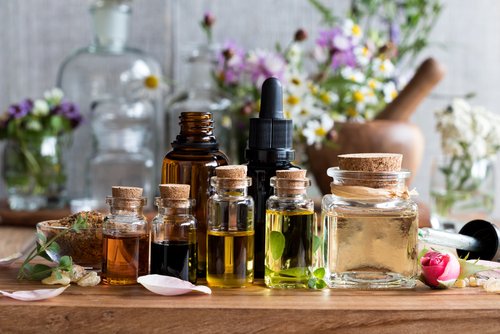
With school starting and our hectic lives, I thought it would be helpful to write about essential oil blends for stress and focus. I’ll list some of the recommended oils for stress, anxiety, and concentration below, and guidelines on how to craft your blends. The best oil blends are those you like the smell of, and everyone’s preferences are different. Even if there’s an oil that people say is the best for one thing or another, if you hate how it smells, it’s not for you.
Recommended oils:
Stress/Relaxation:
Lavender
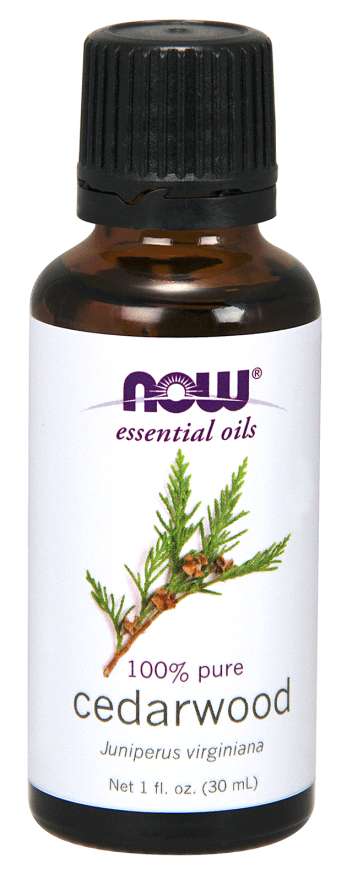
Cedarwood
Vetiver
Rose
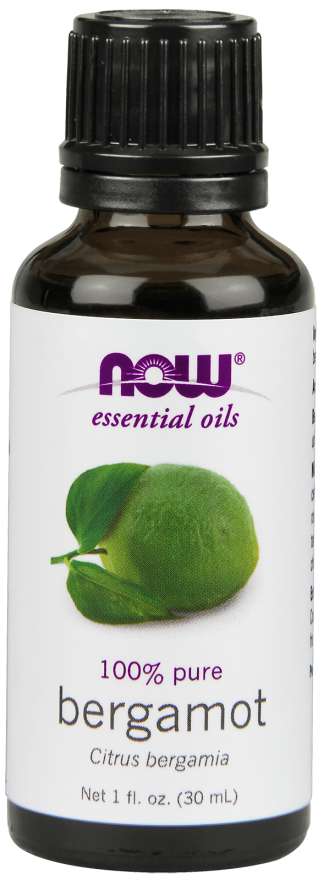
Bergamot
Sandalwood
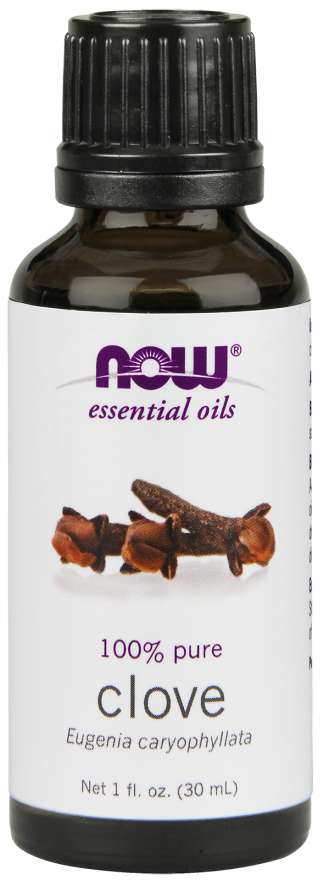
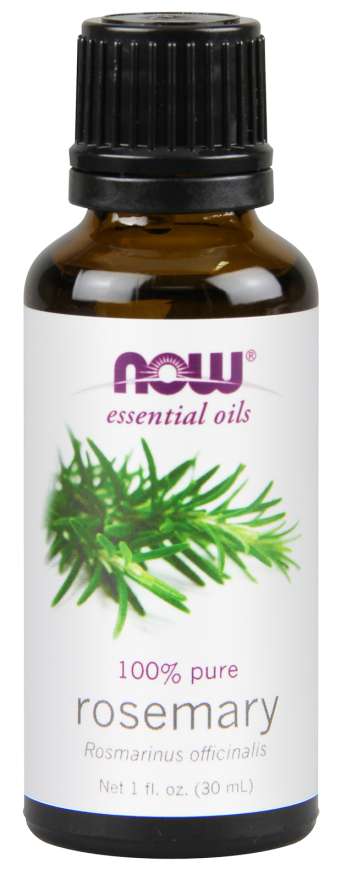
Oils for focus:
Peppermint
Rosemary
Basil
Grapefruit
Oils for mood:
Orange
Lemon
Lemongrass
Ylang Ylang
Now don’t feel like you need to make a blend with all of these oils, they’re just to give you some ideas for your blends. Any can be used to make a rollerbottle with a carrier oil, but I’d recommend trying them in a diffuser first to make sure you like how the blend goes together.
A few of our favorites to try are:
Lemon and Rosemary
Lavender and Bergamot
Peppermint and Rosemary
Rose and Orange
Peppermint and Lemon
Cedarwood, Lavender, and Orange
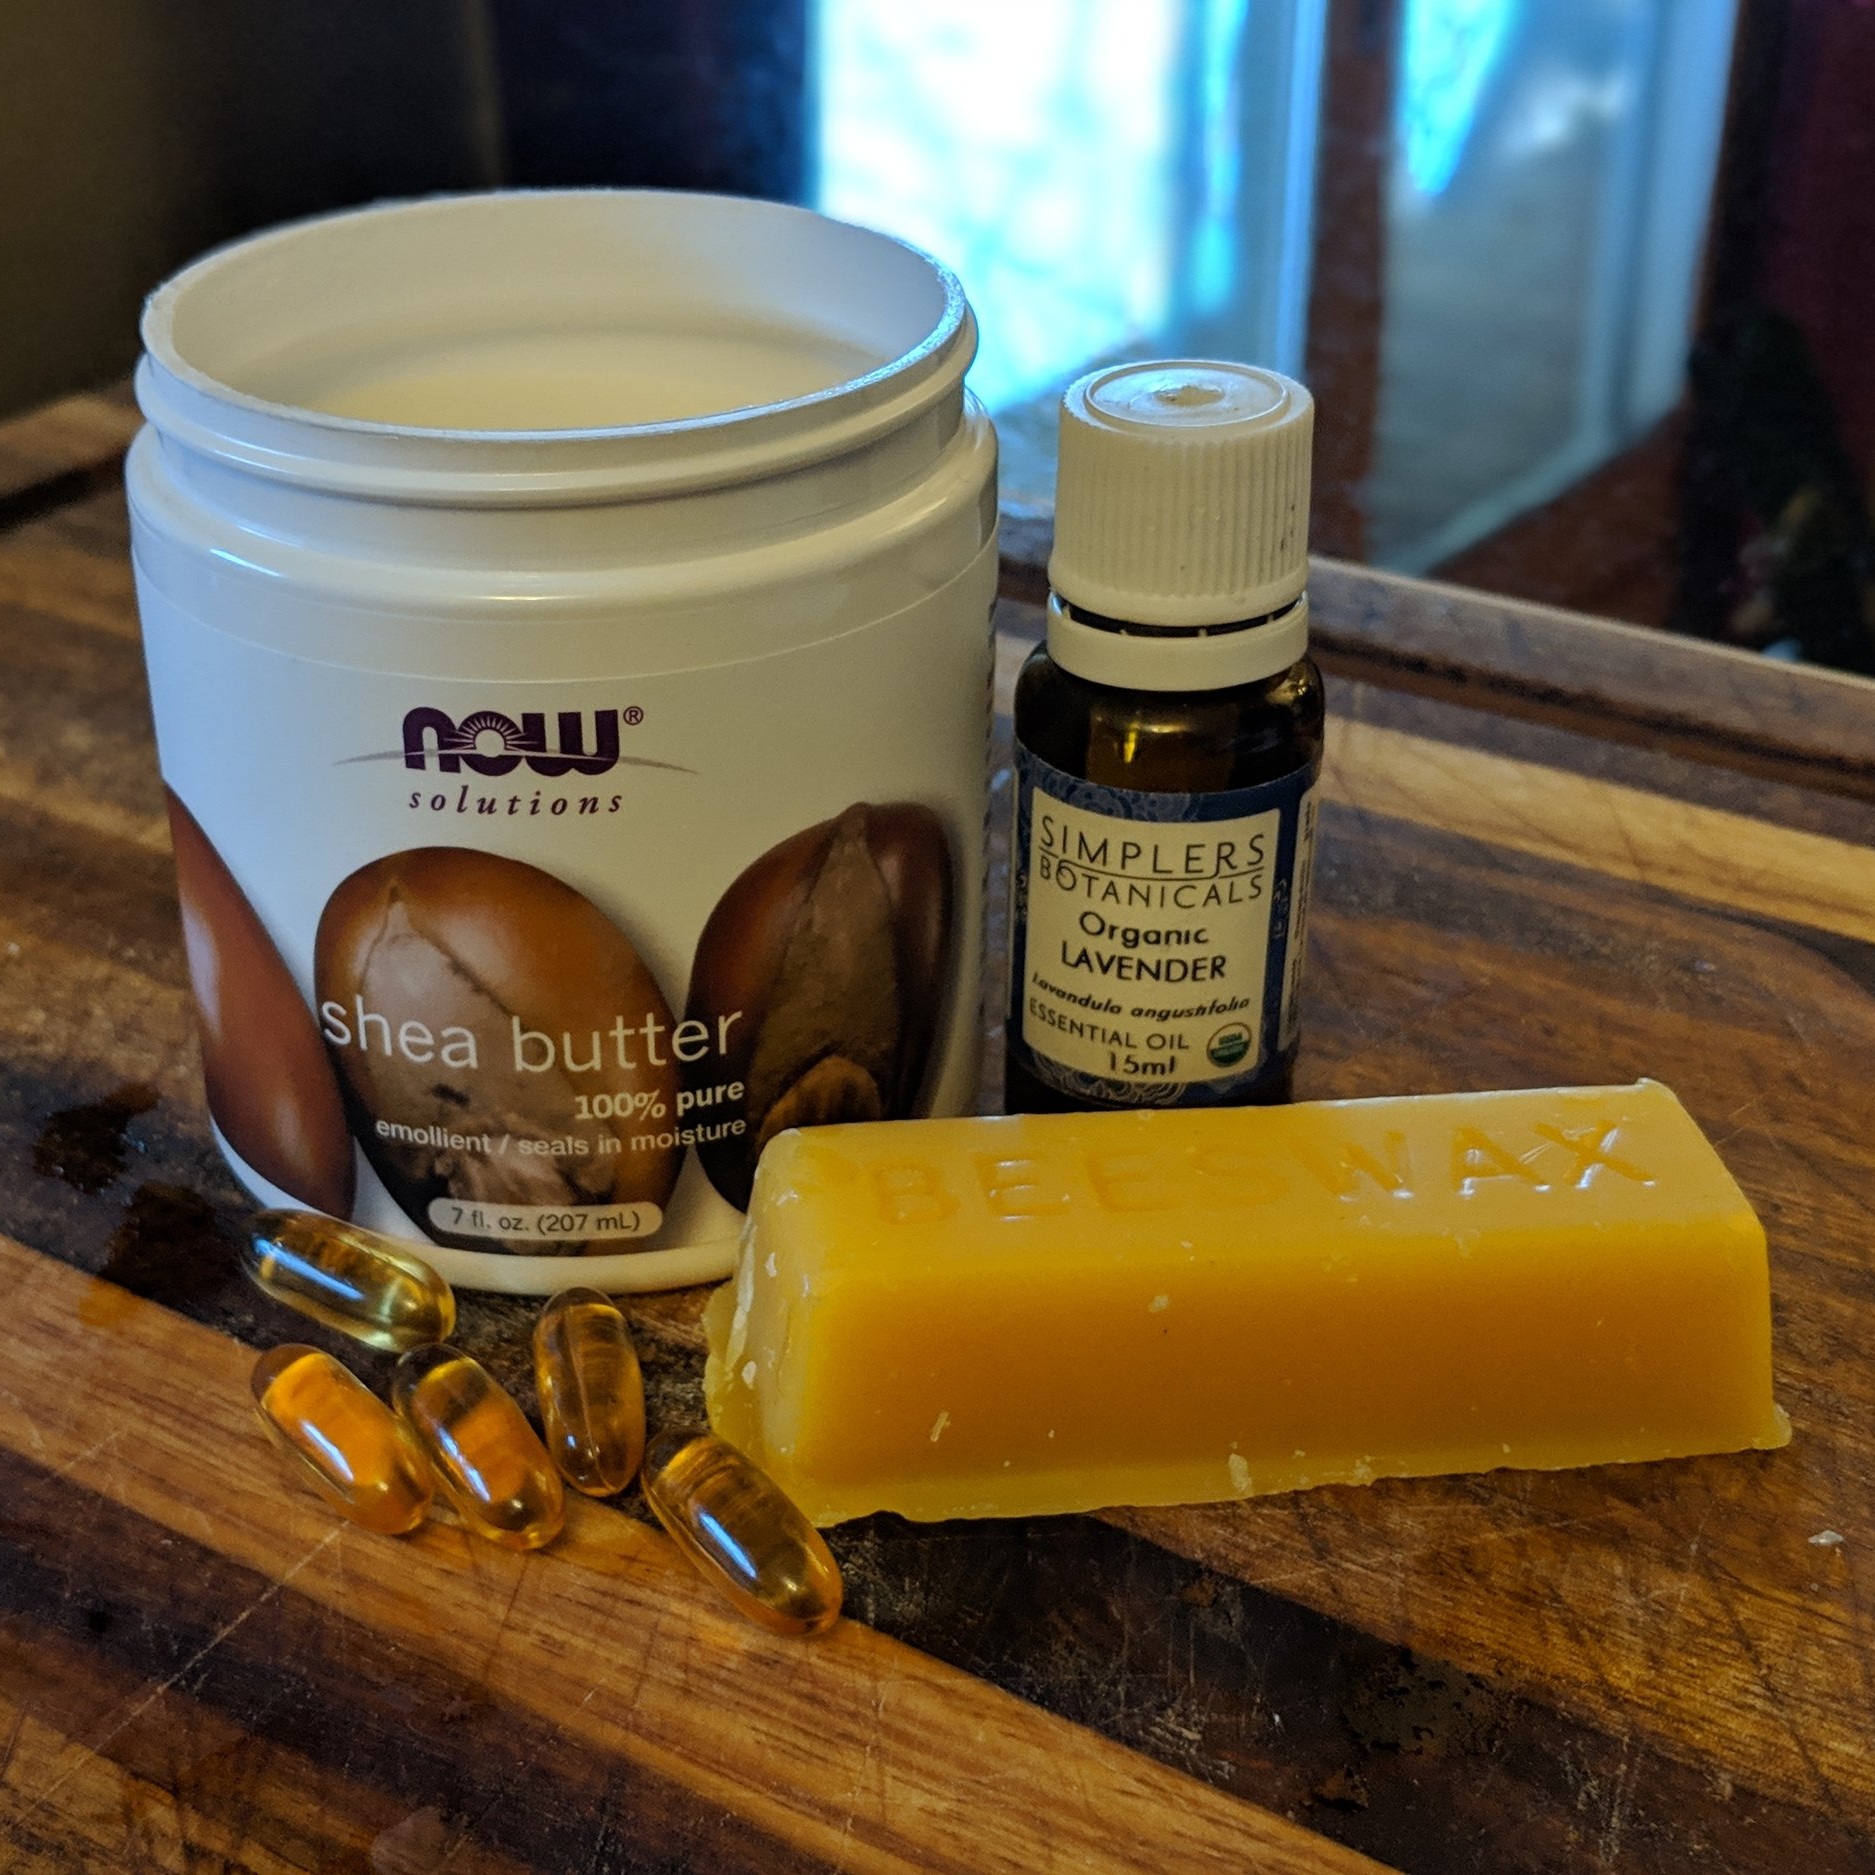
The above oils can also go well on their own if you don’t like them blended. To make a rollerbottle, we’d recommend using a total of 4-10 drops of essential oil in a 10ml rollerbottle, with the remainder being filled with a carrier oil like grapeseed oil.
See our full article on essential oil dilutions and rollerbottles on our website here:
Essential Oil Dilutions for Rollerbottles
We have all the supplies needed at Pass Health Foods to make your blends including rollerbottles, essential oils, and carrier oils. Stop by the store at 7228 W. College Drive in Palos Heights.